My husband had this piece in his shop on the farm with an old door laid across the top. The old door was covered with a raggedy paint-splattered tarp. It was nothing but a work bench to him, a perfect height to work on. He doesn't even remember where he got it back in his picking days when he ventured into tiny towns and farmsteads buying antiques for our store.
I told him years ago it was mine and would become my kitchen island some day. He shook his head at my idea. When we bought this house it wound up in the garage where it was used to store garden tools and junk. I saw a handsome prince, he saw a toad.
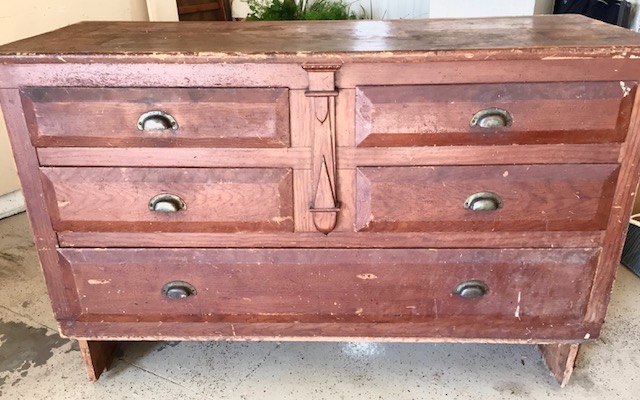
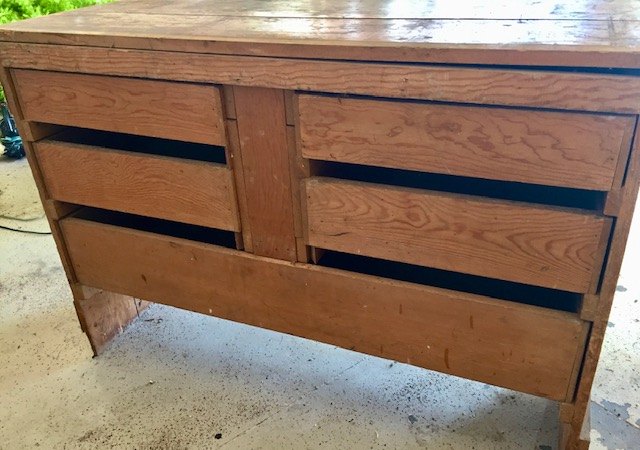
I can't blame him. It was an ugly duckling back then with no sides, no back, no feet. Any part of it that didn't show was left raw and unfinished.

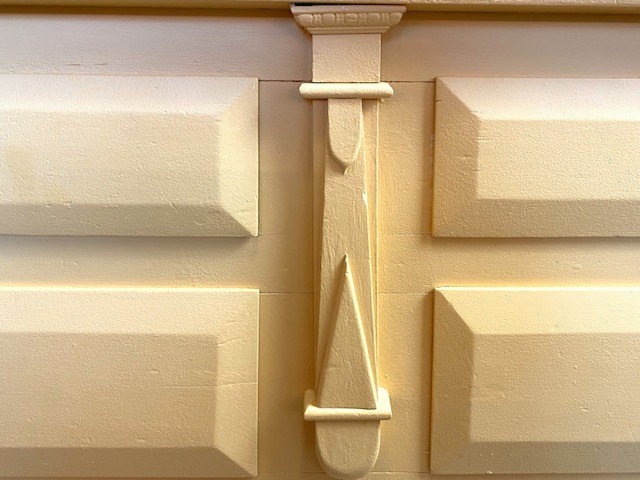
In a previous life, it had been part of a home where it served as a built-in buffet. From the style, I've always guessed it's from the late twenties because it has a definite art deco feel to it. The drawer fronts are hand chamfered, a technique where wood is cut or planed away leaving a neatly sloping edge. The architectural detail in the center shows true craftsmanship right down to the short piece of egg and dart molding. (See close up) I'm a sucker for old bin pull hardware and one spacious drawer is even divided in sections, perfect for spices. I loved it from the get-go.
Our contractor was a good sport about rebuilding it using oak table leaves and an old turquoise wainscoting door I had squirreled away for the lumber. The table leaves became the sides and the door was crafted into the back. Ordinary 2x4 lumber was used to create a frame inside the bottom and I purchased heavy locking casters to bring it to a perfect height and mobility to move anywhere I wanted to use it.
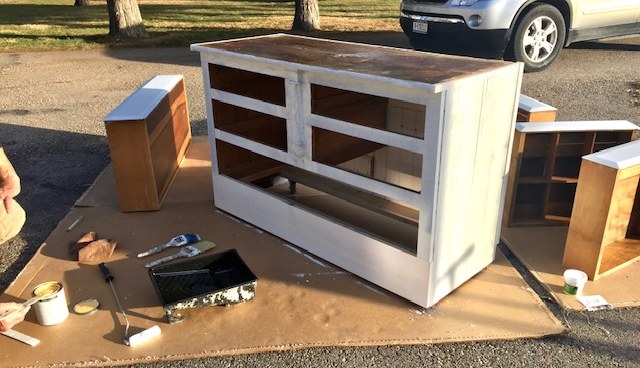
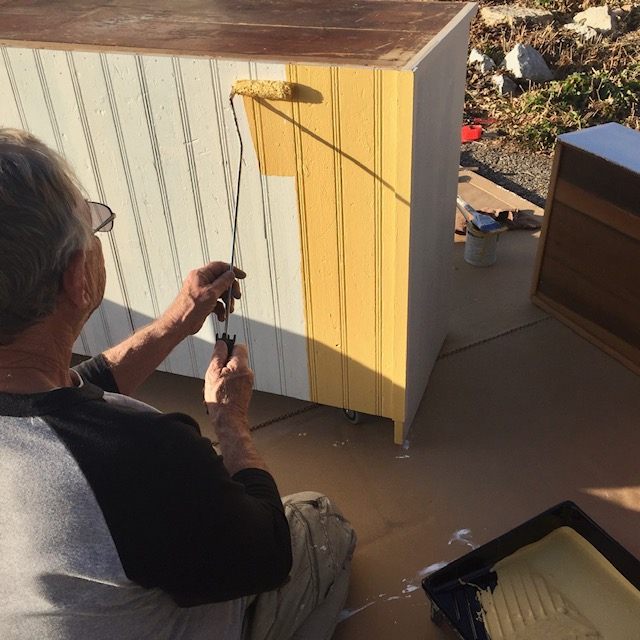
From that point on, it became Papa's project. He is masterful at painting furniture and incredible at detail. First, he rolled on two coats of Sherwin Williams Pro Block primer. This tough oil-based primer makes a velvety smooth background for the finish paint.
Then, two coats of Sherwin Williams Emerald brand satin latex enamel cabinet paint in the color "Torchlight" brought my island to life. I did not want a glossy finish. Every single time I look at it I'm still crazy about the color. We've found this paint to be fantastically tough, washable and forgiving when touch ups are needed. Like when I dropped a meat grinder on the edge of an open cabinet door. Ouch. (Yes, you can use latex over oil based paint but not the other way around!) Finally, we used black Rustoleum 2X Ultra Cover, Ultra Matte spray paint on the hardware.
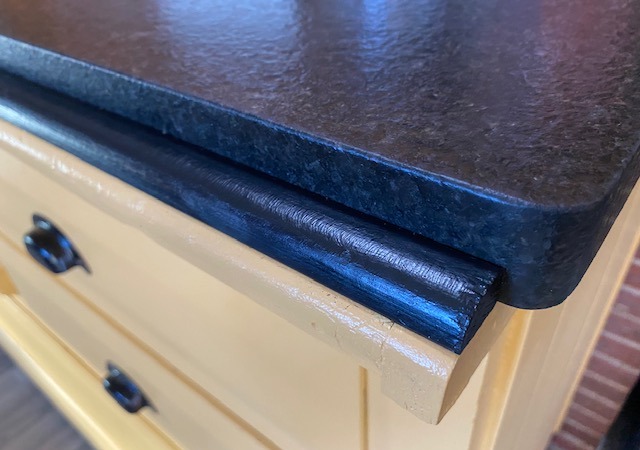
The "cherry on top" is a remnant of pearlized black granite I found in a local builder supply shop. Think about using a remnant if you have a smallish project. It became a perfect counter top. However, after the edges were finished it turned out to be ever so slightly too small but here's how we worked around that. See? Where there's a will there's away, right?
Our budget was small so that ruled out new appliances or new cabinets. That decision alone saved thousands of dollars. Over the last two years, we had to replace the stove and dishwasher so they are in great shape. The refrigerator worries me because it's a teenager now but so far it works like a charm. All the major appliance are stainless and black which we like. I knew we would not change the woodwork so my color palette needed to artfully combine steel appliances and honey colored cabinets.
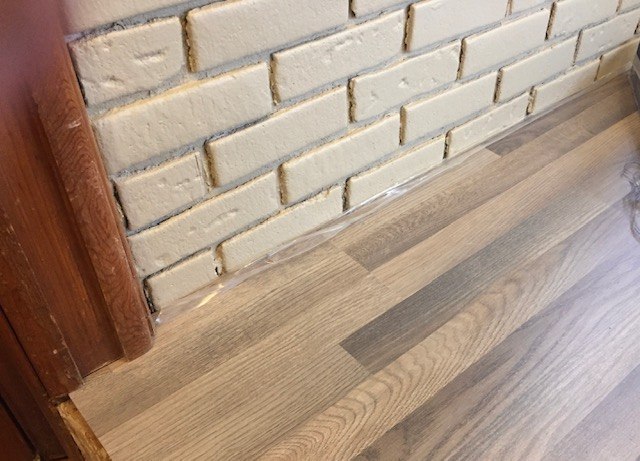
The minute I knew we could begin, I found this wood laminate on sale for $.99 a square foot. Before we'd spent another dime, I bought the flooring, enough to do the kitchen, laundry, our front entry and master bath.(Will be installed later on.) It's Mohawk Aramis Ash Laminate. It also has a matte finish and it shows nothing. It's very easy to clean with a microfiber mop and a spray on product made for laminate. Hear me say Hallelujah!!??
From eight years ago, I knew that running the boards across the kitchen rather than lengthwise would visually widen the space. It really does and the grey and honey tones in the grain blend our colors beautifully.
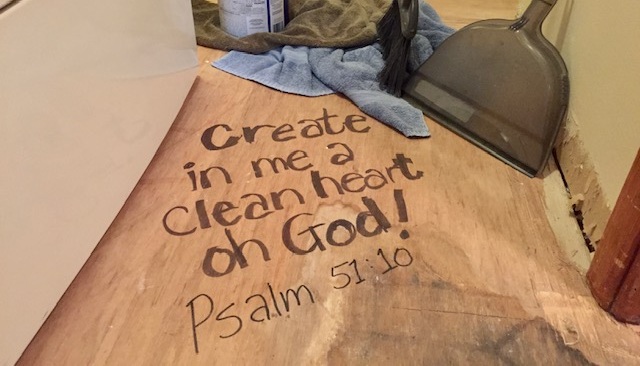
Papa works in new construction a lot and one day he called me to look at something a family had done in a their custom built home before the floor was laid. I forgot to take a picture in the kitchen but here's what I wrote in fat black magic marker on the adjoining laundry room before the new floor was laid. So glad we have scripture under us to guide our feet every day.
You might notice in some of the "before" pictures that the hardware looked sort of, well, blackish. Well, it was sort of blackish but that was the result of 65 years of the build up that comes with cooking, a fireplace, candles burning, and countless touches from less-than-pristine human hands. I started out as a farmhouse after all. It was sort of horrifying.
Hardware for this many cabinets and drawers could cost several hundred dollars so I was determined to find a way to use them. They are heavy and very well made with a hand-forged look right down to the squarish screw heads.
There were literally hundreds of pieces to take off and clean, beginning with an overnight soak in one part household ammonia to one part boiling water. Once I started pulling them out of their bath and cleaning each piece with a small wire brush, I discovered they had a copper finish which did not fit in our color scheme! Pretty, but wrong.
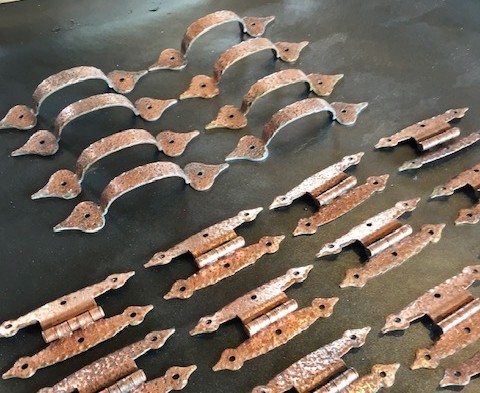
I used the same black Rustoleum spray paint on them. Several light coats later, they look like hand forged iron handles. Yep, even the screws got the same treatment, standing like little soldiers in styrofoam. Miraculously, we didn't lose a single piece!

When we removed the peninsula and separated the tall cupboard by the stove, some new wood was used to reconstruct the cabinets. We needed to use paint to unify the old and new wood. My friend Cindy introduced me to a deep warm grey she had used a lot in her home. Let me just say it. I adore "Iron Ore"! (and it rhymes!) We used the same Sherwin Williams Emerald latex paint in satin for all the lower cabinets.
We scrubbed them with Sunnyside Phosphate Free TSP Substitute mixed in hot water. In places where the finish had gotten sticky over time, we wiped them down with lacquer thinner after washing. Once they were completely dry, we rolled on two coats of Sherwin Williams Pro Block primer and then two coats of Iron Ore. We reattached all the hardware, rehung the doors, put the drawers back in place and then stopped working on cabinets until after Christmas.
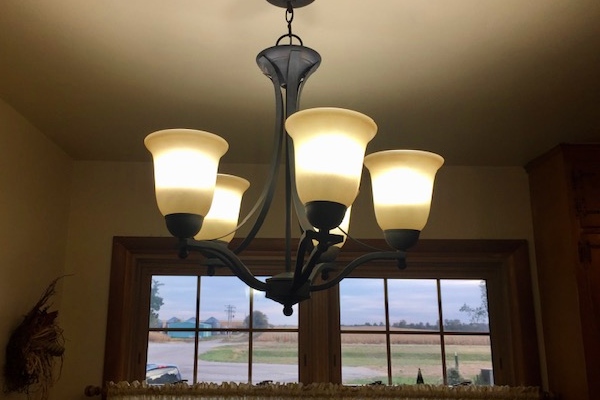
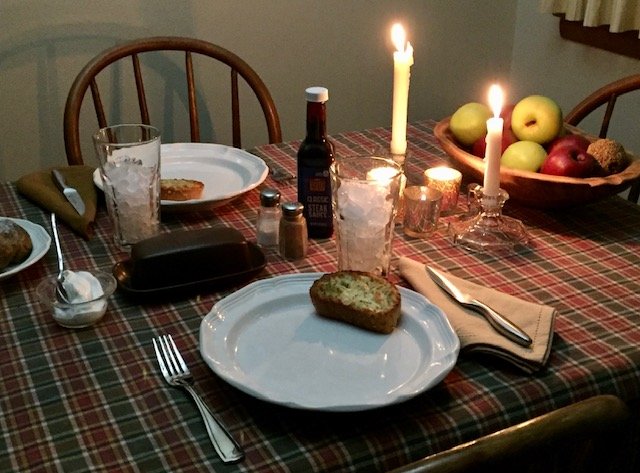
The floor was laid and a new light fixture installed above the kitchen table. I went from a single 100 watt bulb in the ceiling fan to five 100 watt LED bulbs in the new fixture. I found it on sale at Home Depot and splurged on a dimmer for the wall switch so I can turn down the lights for a special supper like this. I have a weakness for ambient lighting.
Fall turned to winter and Thanksgiving came and went. We celebrated at our daughter's house this time. I was counting down, hoping to have my annual cookie exchange with my girlfriends and Christmas here with our family. For a little while, it seemed he work would never end and then...

One night we had the most magical snow and looking out the window towards the creek and the woods at sunrise, I knew once again why we love this quirky old house of ours. Everything would fall into place and I felt peace.
That's it for tonight my friends. Before the weekend is over I'll share the rest of the story and all the "after" pictures. See you soon!
Sign up for my newsletter and receive a free gift! A printable sign that would look great in your kitchen, framed above your sink, or just placed anywhere to remind us how lucky we are to have dirty dishes!
 Sign up now!
Wonderful story!!! Exciting to see treasures recycled and repurposed!
I was talking to a dear friend yesterday and we agree that oftentimes it is a LACK of resources that spawns creativity to the max. Thanks so much for taking time to read and comment!!