
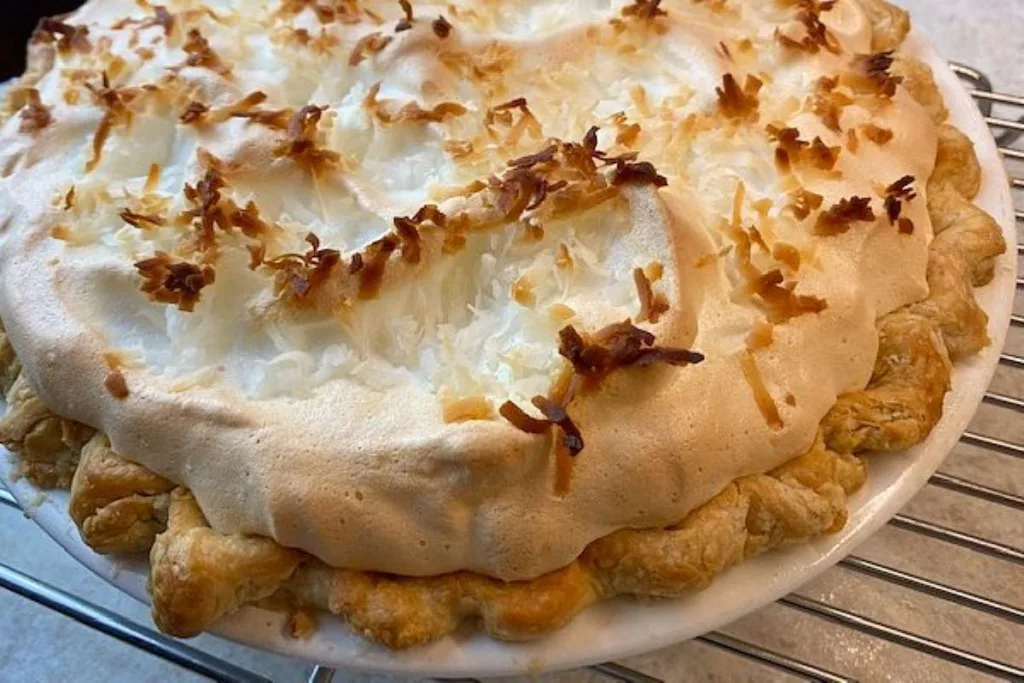
Coconut pie is a little slice of heaven. It's a love language spoken from the oven. Cream pies began to become popular in the early 1800s. It seems that farmers had an abundance of milk and eggs during that beautiful period in agriculture.
Clever, creative cooks found a delicious use for the excess! However, it was almost a century later that coconut pie entered the scene.
A great prosperity period in America began in the late 1800s and lasted into the early 1900s. It was also an age of cultural awakening and curiosity about what was happening in the rest of the world.
During this time, the affluent had the opportunity to try exciting new foods worldwide. They discovered they LOVED tropical fruit like pineapple and bananas, but coconut had not yet arrived in the American and European markets.
Like today, an efficient supply chain is essential for getting products to customers. Coconuts were hard to transport without spoiling, and once they arrived at their destination, most people did not know what to do with the big shaggy brown nuts.
When a company in Ceylon began to shred and dry the coconut meat, the coconut used for baking and cooking became widely available because it was easy to ship. It was snatched up and eagerly adopted by homemakers and chefs in Europe.
Franklin Baker was a flour miller in Philadelphia. In 1894, he received a cargo of fresh coconuts in payment for a consignment of flour, but Mr. Baker could not find a buyer.
The clever entrepreneur was convinced there was a market for it, so he set up his own coconut business, drying and shredding the meat. It went so well that he sold his flour business!
In 1895, he set up a factory in Philadephia to dry and shred coconut. Almost singlehandedly, he put coconut into the hands of American housewives, commercial bakers, and candy makers.
After its initial success in Europe, coconut took America by storm. Recipes began showing up in cookbooks almost immediately. By the turn of the century, coconut custard, cookies, and pie were popular, and people everywhere loved them.
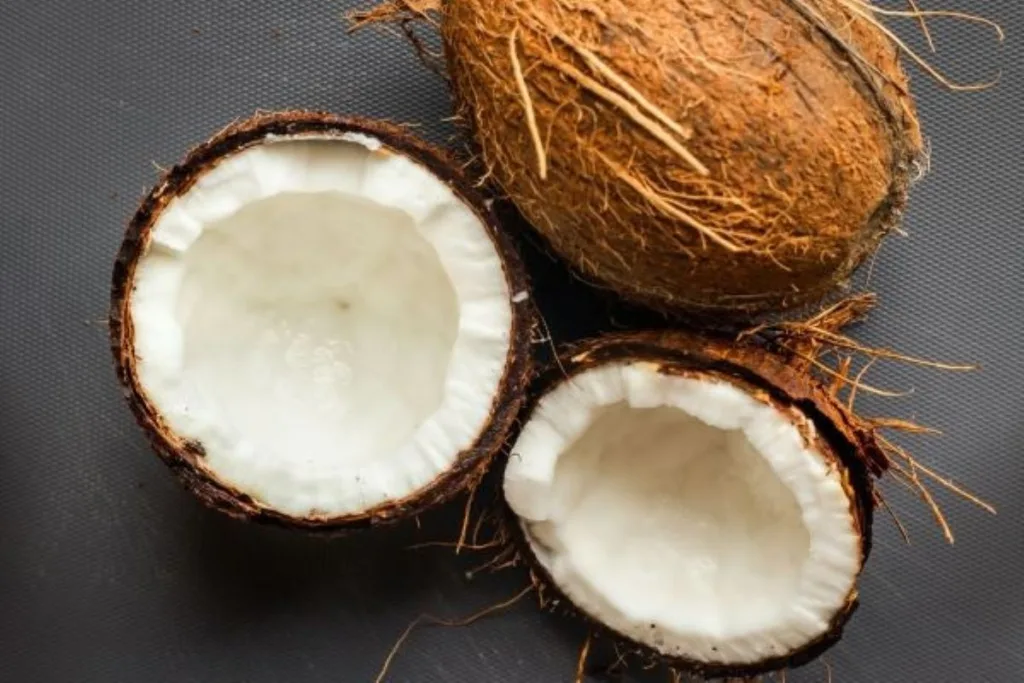
There is no cocoa in them, and coconuts aren't true nuts. So, how did they get the funny name? In Spanish and Portuguese, "coco" is the name for a monkey face. There are three large round dots on one end of the coconut. The early explorers might have imagined a face on the hairy-looking sphere.
I'm not joking when I say, "Make it for someone you love." It is a labor of love. None of it's hard, but it is rather labor-intensive. And there will be many dishes to wash.
You'll spend much more time making a coconut pie than you would EVER spend on making a fruit pie. A meringue-topped pie is involved. You will make a crust, a filling, and a topping. Each step is separate.
If you've been reading my posts for a while, you know I'm all about making great food, and I'm also a big fan of getting in and out of the kitchen fast.
There are exceptions, though. Like when you really, really love someone. If you know they really, really love something, you will sacrifice and make it for them with love.
I admit it's not on a par with what Jack did for Rose when he allowed her to stay afloat on that piece of wood as the Titanic sank. But there will be dishes to wash.
Don't let this stop you because the results are so worth it! And the pie recipient will probably ask you to marry them if you are not already married. It's that good.
This time, I want you to make the whole pie from scratch. I know. You could buy a pie crust in the store. You could throw away the egg whites and put whipped cream on top instead of meringue.
But at least once, you should spend an afternoon on a really great American classic: coconut pie topped with coconut-studded meringue and baked to a beautiful toasty golden brown. I will hold your hand.
The rewards you receive for such a labor of love are enormous, but you will earn them. No step is difficult, but there are three steps. And there will be dirty dishes. Lots of dirty dishes.
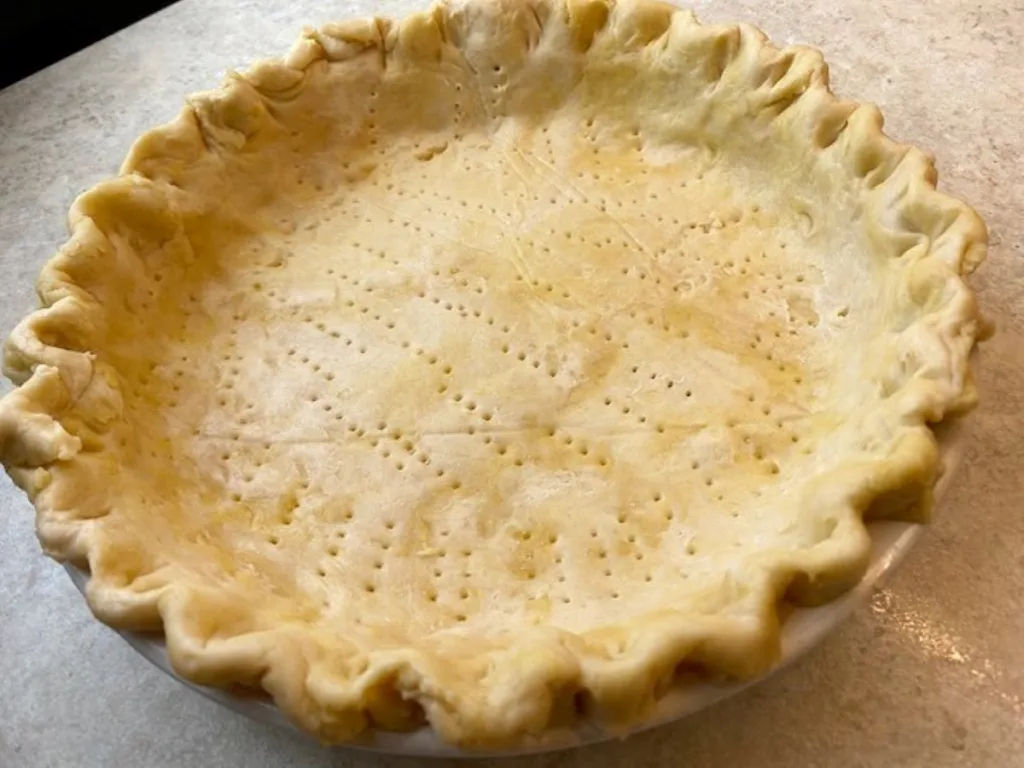
You do not need cold butter, a rolling pin, or waxed paper. Just pat the oil-based pie crust dough into place with your fingers. The printable recipe card is at the bottom of this post.
Make and bake this first and set it aside until you're ready to put the filling in it. Next, make the meringue. It can sit and wait until you have cooked the filling.
Carefully separate the eggs and set the yolks aside in a small bowl. Separate carefully. Any egg yolk left in the white will affect the height.
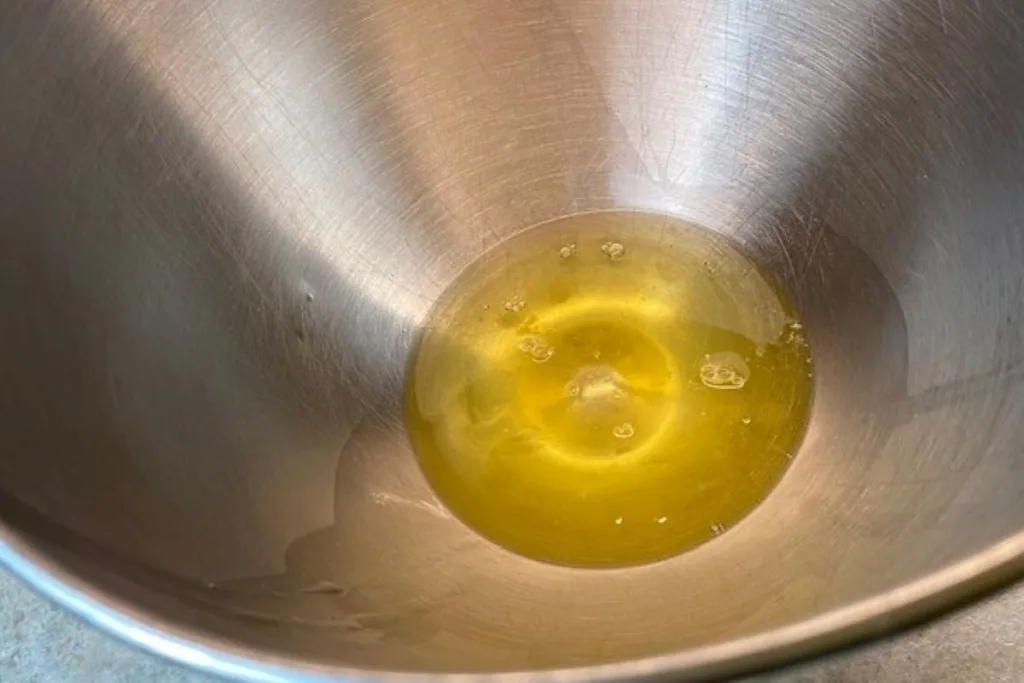
Here are some tips that will make your meringue taller and prettier.
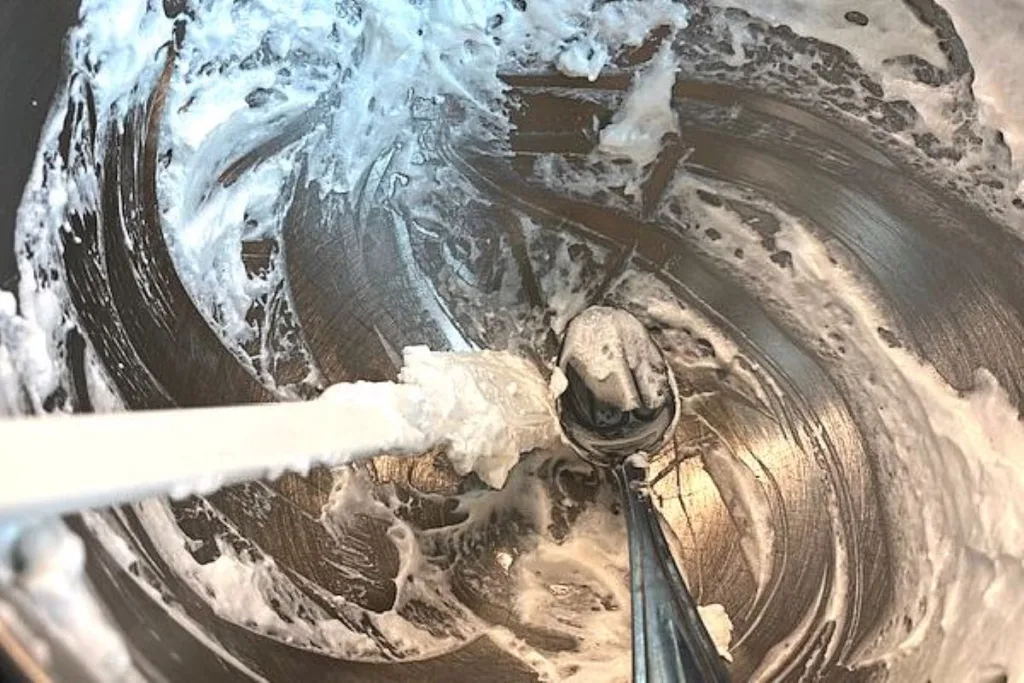
Put the room-temperature egg whites in a tall bowl and use a whip attachment to maximize volume. A sturdy stand mixer makes the job easier, and a stainless steel bowl works great. You can use a hand mixer to do this; it works fine but is a little slower.
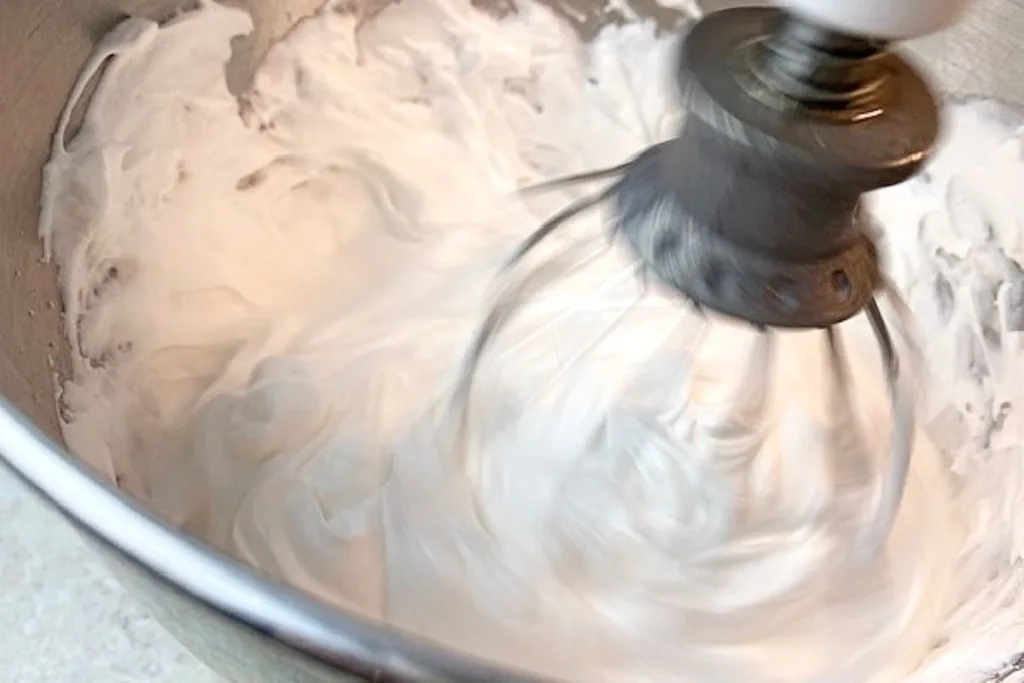
Add the vanilla and cream of tartar when you begin to whip the egg whites. Beat the whites until soft peaks form, then start adding sugar a spoonful at a time.
Stop and scrape down the sides with a rubber spatula to ensure all the sugar is incorporated. Repeat until all the sugar has been added.
Before you stop whipping that meringue, feel it between your fingers or put a little bit on your tongue. It should feel smooth, not gritty. All the sugar should be dissolved. Do not underbeat. Attention to this step ensures a gorgeous meringue that doesn't "weep."
Set the meringue aside while you make the filling.
Beat the egg yolks a little bit so they are ready to mix into the filling. The filling begins with cornstarch (or flour) and sugar. Whisk them together in a heavy saucepan, then add the milk. Bring the mixture to a boil, stirring constantly. It will develop a thick, sauce-like consistency.
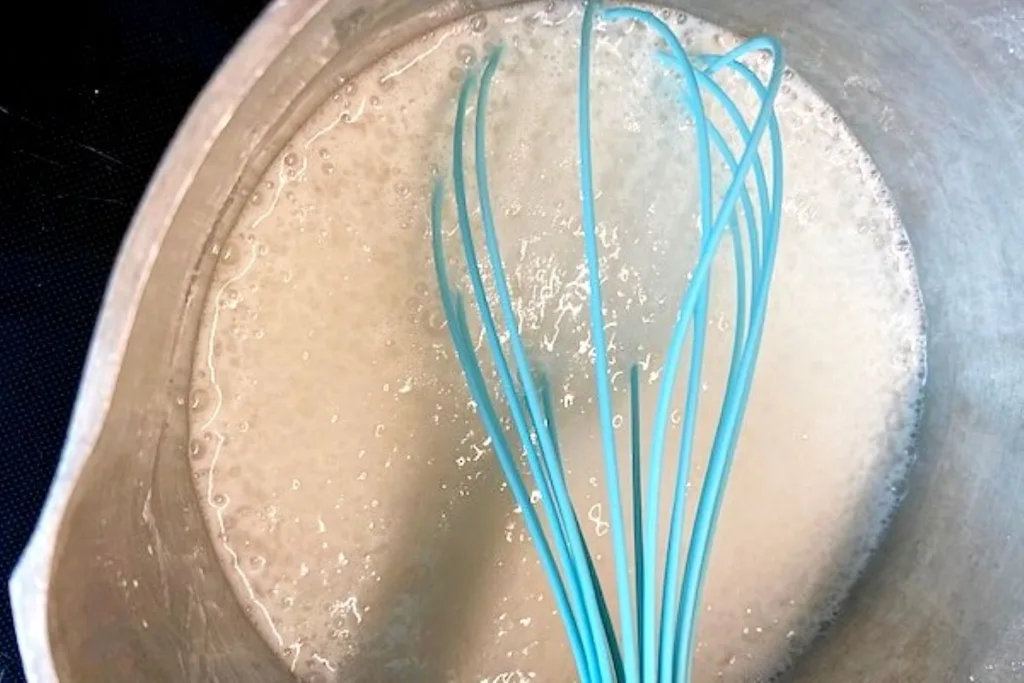
Remove the pan from the stove. Take a small amount of the hot mixture and stir it quickly into the egg yolks. Then, pour the egg yolk mixture into the saucepan and return it to the stove.
Cook and stir it constantly for 2 minutes, then remove the pan from the heat. Add the cup of coconut, butter, and vanilla. Stir until the butter is all melted.
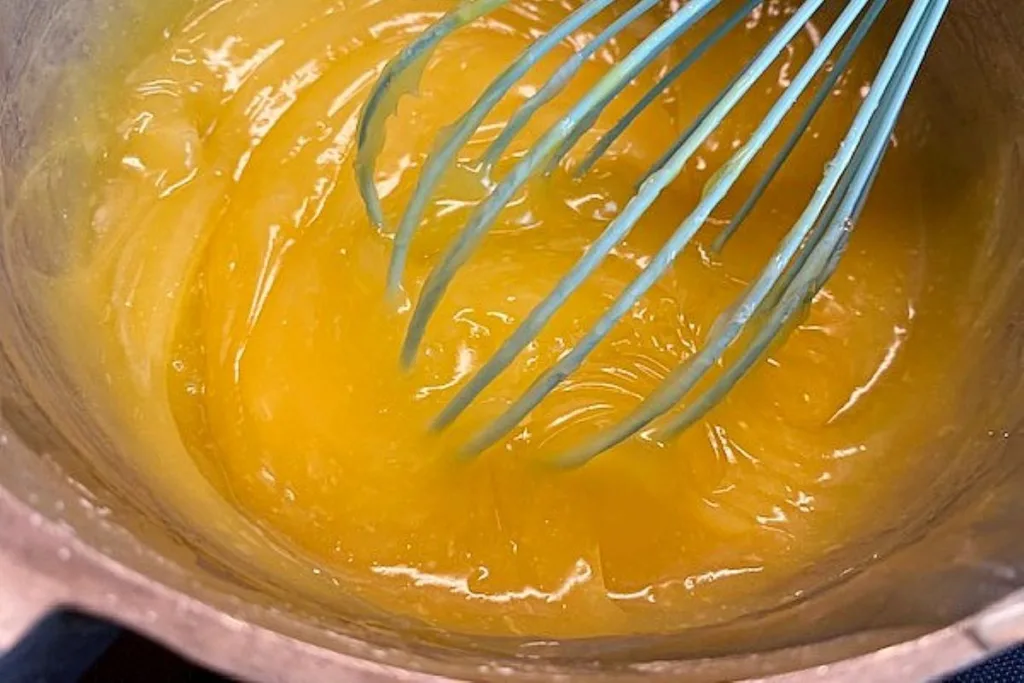
Net, pour the filling into the pie crust. Smooth and level it. Be sure to lick the spoon and the pot!
Gently pile the meringue on top of the filling. Use the back of a spoon to work the meringue evenly across the coconut cream pie filling. Leave it tall in the center.
Important: Make sure the meringue touches and sticks to the crust around the entire perimeter of the pie! Careful attention to this detail will keep the meringue from shrinking!
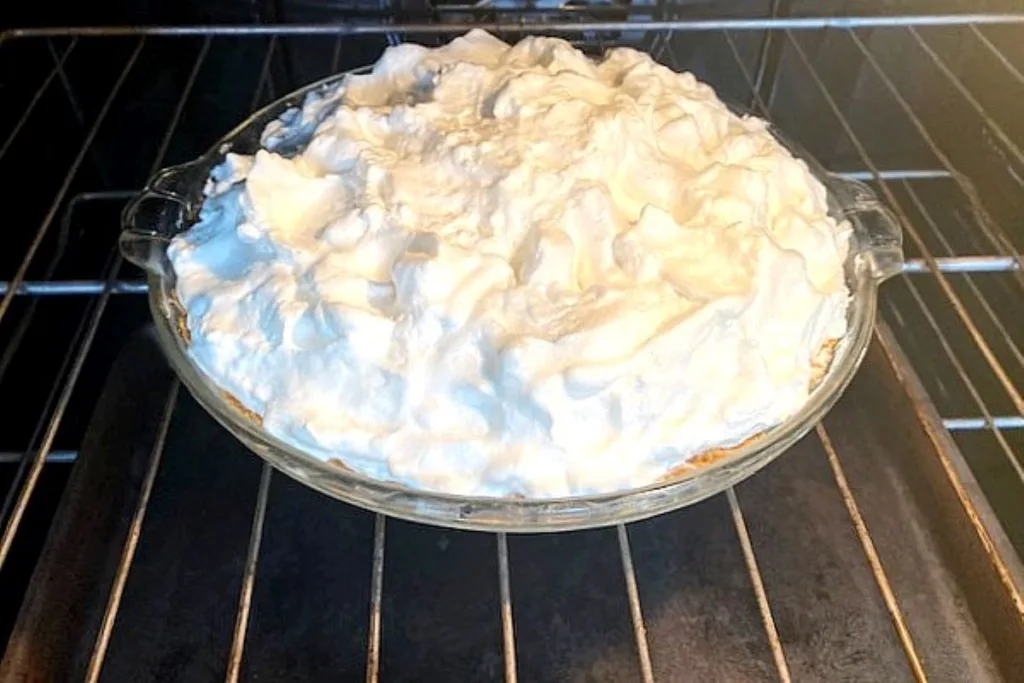
Sprinkle 1/3 cup of coconut evenly over the top of the meringue. Bake it in a hot 400-degree oven for about 12 to 15 minutes. The meringue should be golden brown. The peaks and coconut will be a toastier shade of brown.
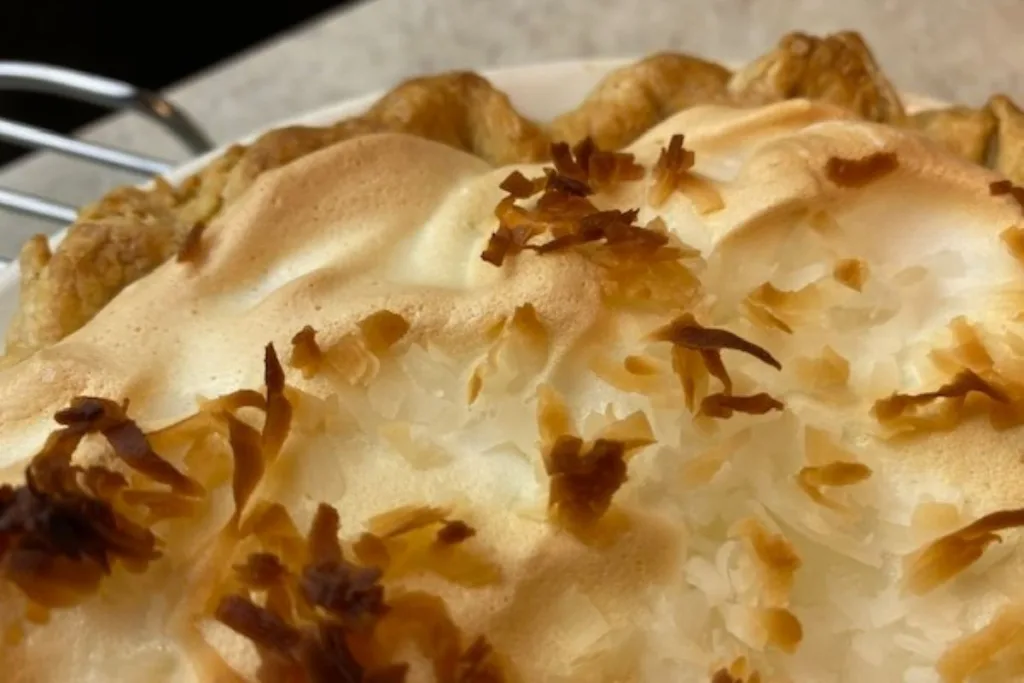
Let the pie cool completely before cutting and serving. This can take 2 hours or more. Run the knife under hot water before you cut the pie to keep the meringue from tearing. Cover and refrigerate any leftovers.
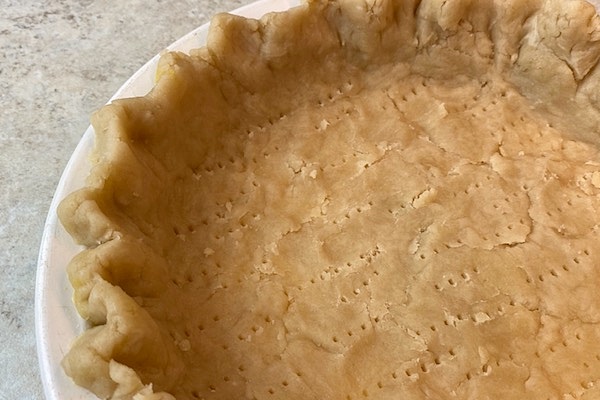
Super easy, flaky pie crust you pat in place with your fingers! No cold butter, no messing with a rolling pin!
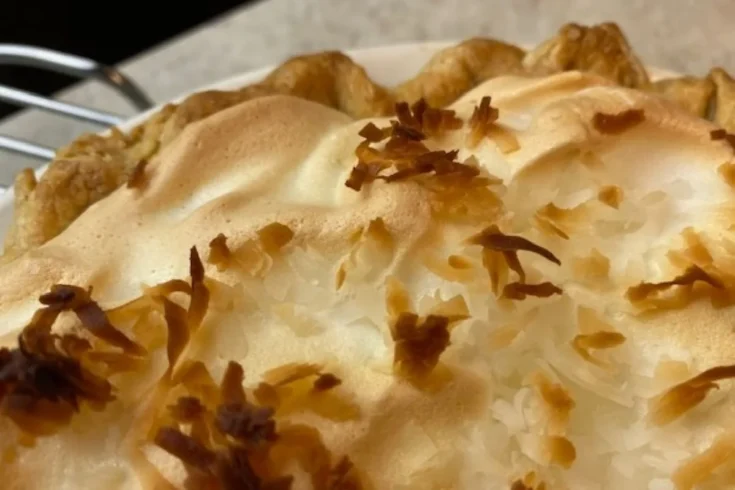
A classic coconut pie with cream filling and a lofty meringue topping.
My husband waffles between saying coconut cream pie or lemon meringue pie is his favorite. Both amazing pies are classic American desserts! Do you have a favorite meringue pie or cream pie? Is there another pie recipe you'd like to see here? We love hearing from you. Please leave us a comment!
If you liked this recipe, you are my people! So please share this post on your social media accounts like Facebook, Instagram, Twitter, and Pinterest if you enjoyed this recipe today. It would sure tickle me, and I'd be ever so grateful; thank you!
If you haven't already, please check out my Facebook page and find me on Pinterest, where I'll post easy, delicious, and family-friendly recipes every week!
Sign up for my newsletter and receive a free gift! A printable sign that would look great in your kitchen, framed above your sink, or just placed anywhere to remind us how lucky we are to have dirty dishes!
 Sign up now!