
I get in on so much fun when our daughters plan a party or an event! In late June, our daughter hosted a lovely wedding shower for the beautiful daughter of friends, the best kind of dear friend, because they are also cousins. 💖
Her amazing strawberry cake was a show-stopper, and I was asked to make the ribbon sandwiches. Hmmmm. As I pondered how I'd make them, I revisited my long-ago high school days when ribbon sandwiches were wildly popular for graduation parties and bridal showers.

I had eaten my share of the lovely things, but in all my years in the kitchen, I had never made a single one. I remember ribbon sandwiches in the 1970s were made using a whole loaf of unsliced bread.
Back then, the loaf was sliced horizontally, all the crusts removed, and each layer was filled with a yummy sandwich spread. Next, the whole loaf was frosted with whipped cream cheese and refrigerated.
When it was chilled, the loaf was sliced into individual servings the size of an entire slice of bread. It seemed daunting. That kind of ribbon sandwich was definitely knife-and-fork food!
I was way overthinking it! I knew I wanted something daintier and finger-food size. And here's exactly how I did it.
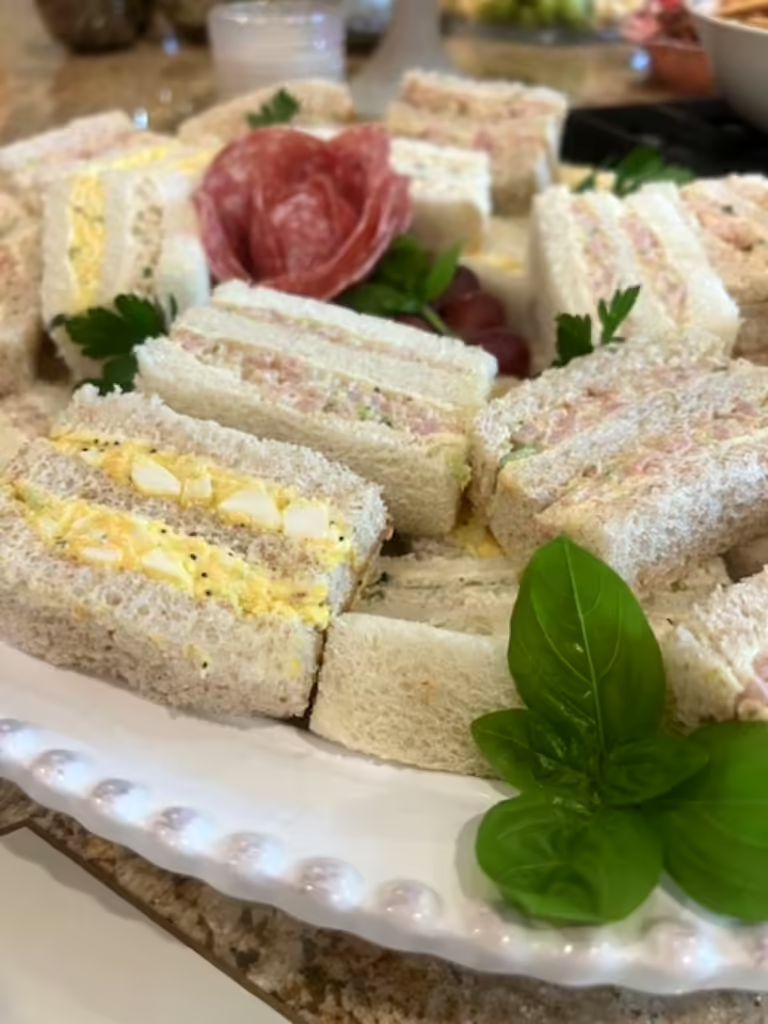
I stewed and tried several kinds of bread and finally ended up making the dainty little things on ordinary square sandwich bread from Target! I used both white and wheat bread, and it worked beautifully!
I set out butter early in the day so it would be super soft and spreadable. I spread one side of three slices of bread with the thinnest layer of butter possible, then put sandwich filling on two slices, not quite to the edge of the bread.

Next, I stacked them on top of each other, left to right, with the third slice butter-side down on the filling. The thin layer of butter minimizes the filling soaking into the bread.

Once the three slices were stacked, I trimmed off all the crust and cut each stack into thirds, creating three little sandwiches. I lined them up in refrigerator storage containers with waxed paper between each layer.
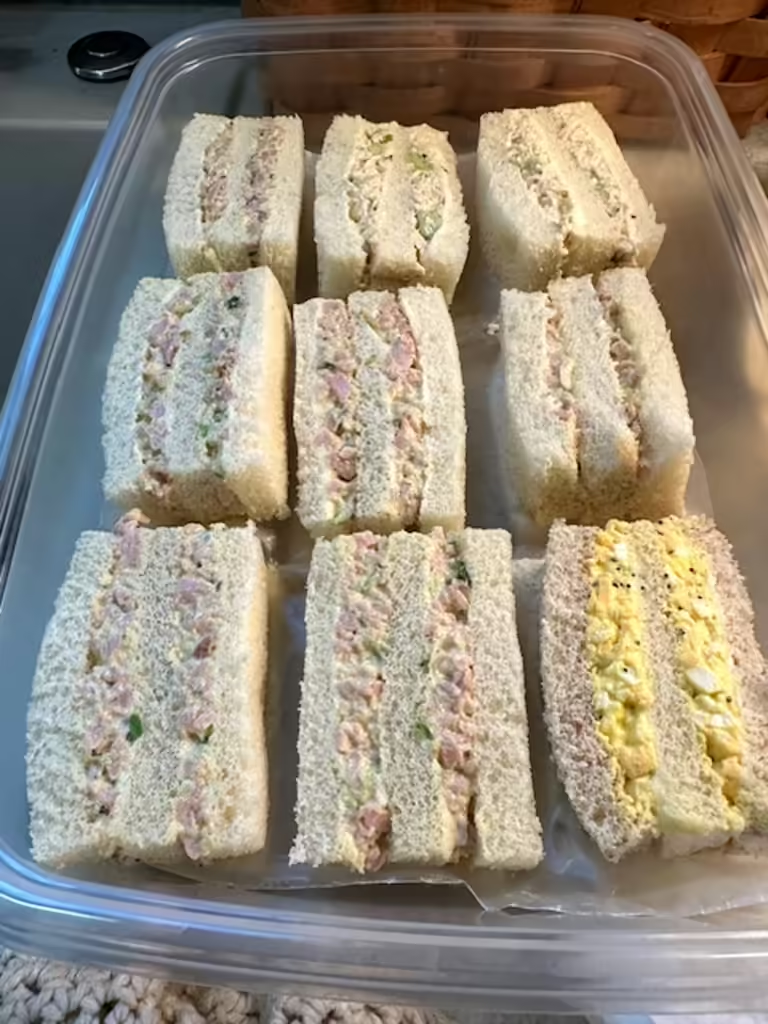
I have three go-to sandwich fillings: ham salad, chicken salad, and an egg and cheese salad. All of them are easy to make and good. The only difference in how I made them for these small sandwiches was to chop the ingredients a little finer.
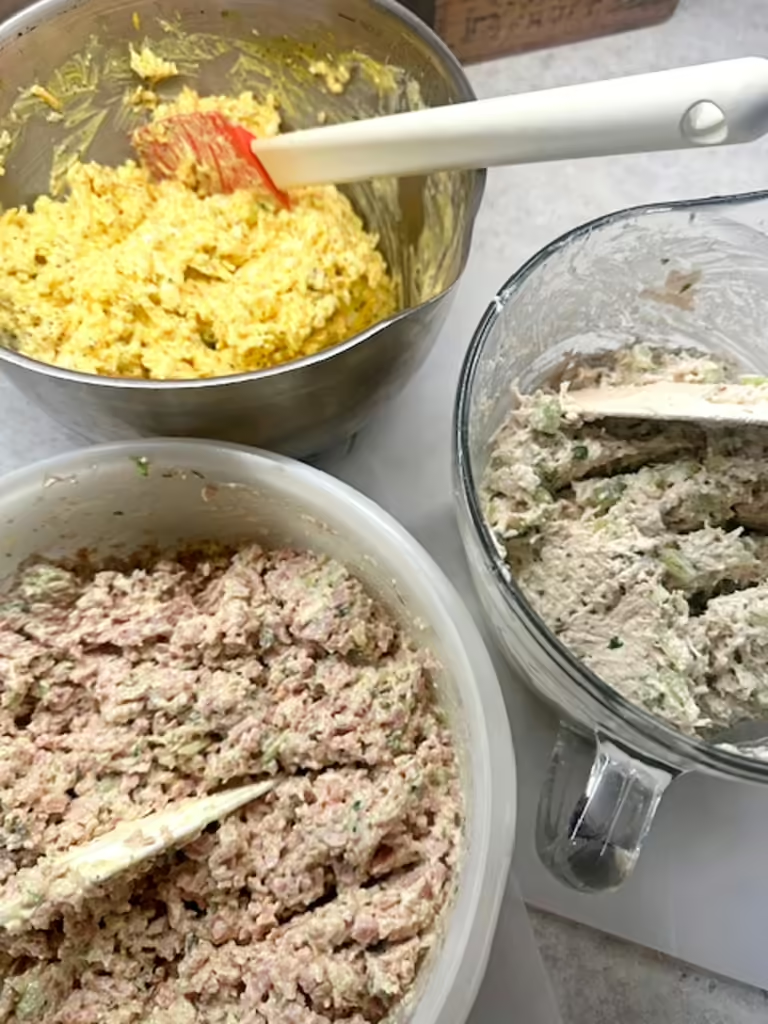
Be careful not to chop the ingredients too finely, though. You want to retain each one's character and not make them into a paste. You only need a thin layer of filling.
If you have a different sandwich filling you'd like to use, go for it! For instance, I think pimento cheese or cucumber and cream cheese with dill would be amazing!
The sandwiches should be made ahead of time and chilled for plenty of time—overnight would be perfect! This will make the little sandwiches firmer and easier to handle.
I made some sandwiches with just one filling, and in others, I put two different ones in a single sandwich for variety. The white and wheat bread ribbon sandwiches made a nice contrast on the platters.
I've mentioned I'm a garnish lover. Look how much a few red grapes, fresh parsley, and basil enhanced the look of the sandwich platter!
In a future post soon, I'll have my younger daughter demonstrate in a quick video how she makes her fancy salami roses on a wine glass! I have watched her, but I never got a lesson! She makes it look easy!

We had some leftovers and they were still delicious when we ate the last of them three days later!!
The party was absolutely lovely, and the ribbon sandwiches were a hit. I want to share a few more pictures, first of the lovely bride and her beautiful momma.
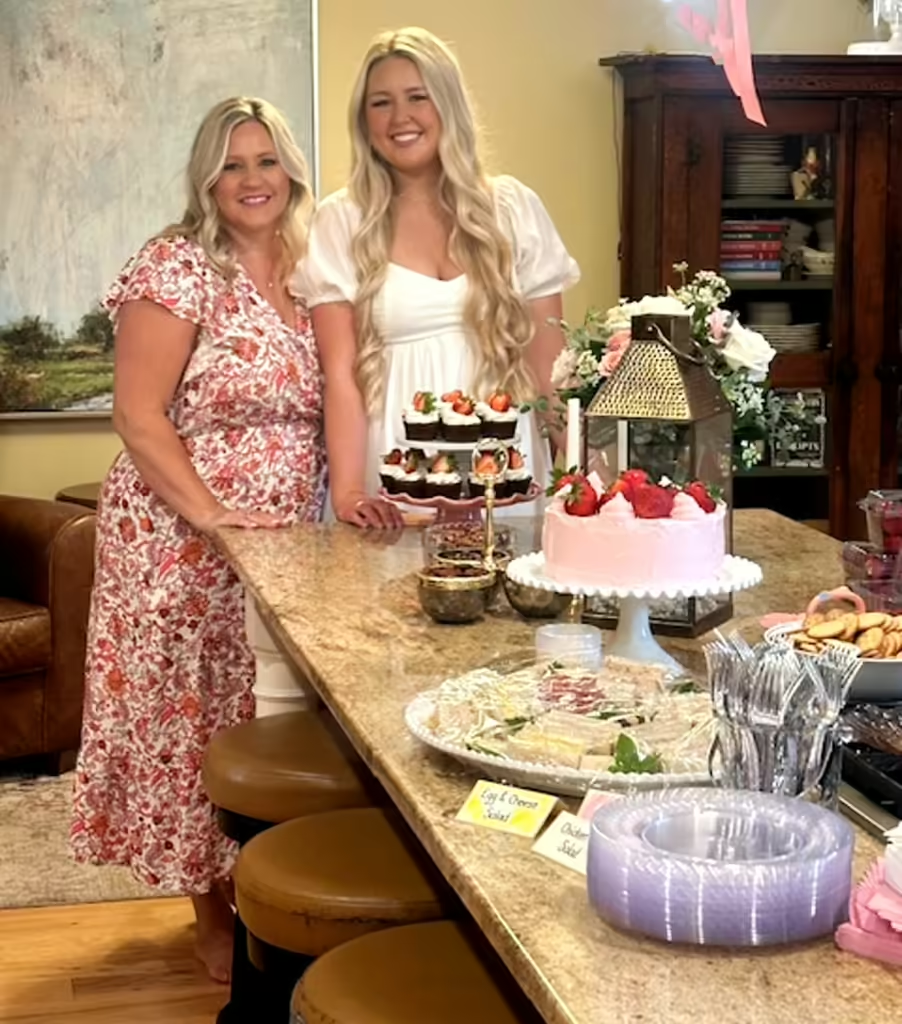
I also loved the sweet detail of the faux cabbage rose with a plump, ripe strawberry in its heart in the center of the fruit and cheese platter. Both of our daughters added amazing creative touches to the table!

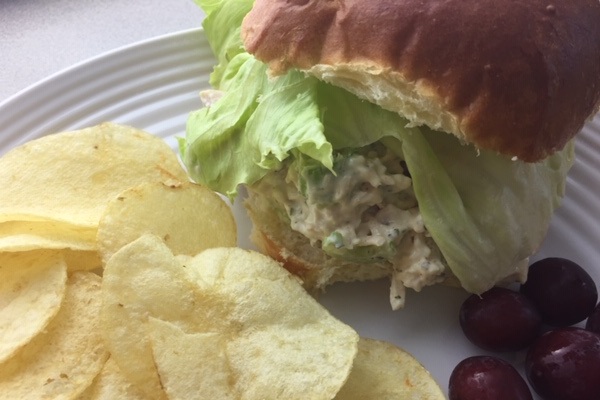
A savory chicken salad with basil, lemon, and toasted pecans that great on buns, in a cream puff shell, a wrap, or stuffed in a ripe tomato.
*The tea room used to cut 6 or 8 red grapes in half and press it right into the filling. You may love it! Add lettuce and enjoy!!
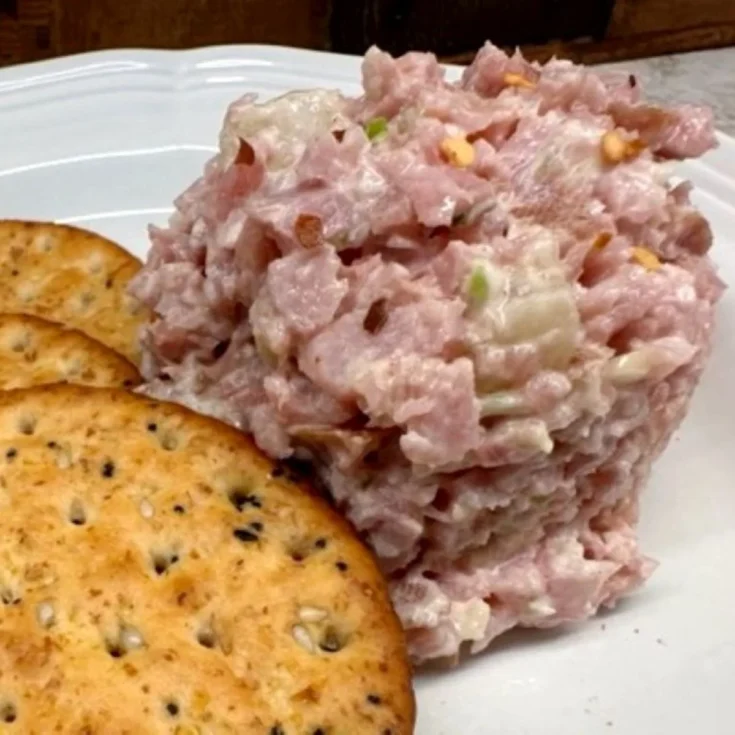
This is a classic ham salad you can make quickly and easily in your food processor. You can vary the ingredients to taste.
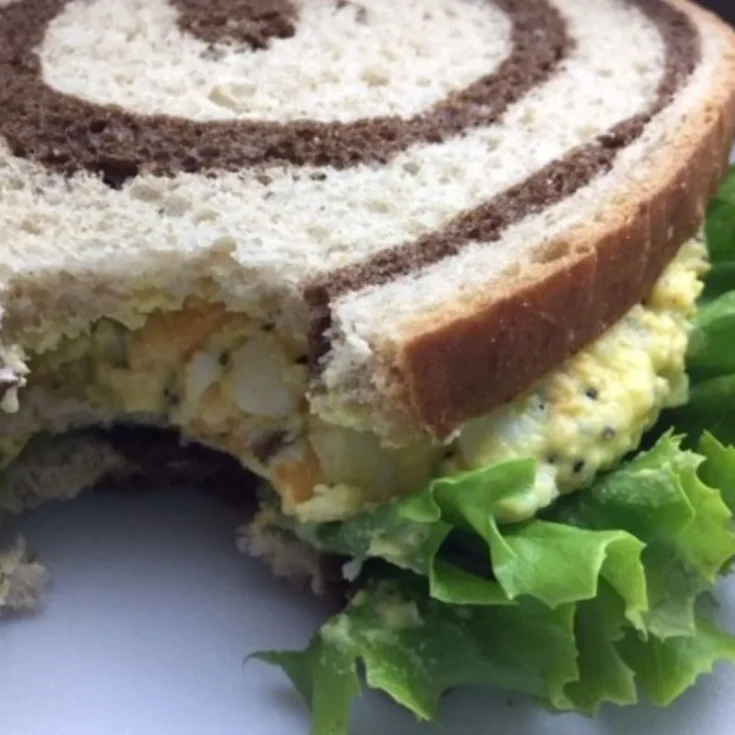
This is not your Joe Average Egg Salad. We always called them "track meet sandwiches." Hard-cooked eggs are married with shredded sharp cheddar cheese, green onions, poppy seeds, and a zippy mayo and mustard dressing. It's perfect on dark, grainy bread or marble rye.
Having guests or hosting a party is a powerful incentive to clean and organize, make small changes, eliminate some things, and add a few touches to our homes. It sure works for me!

The whole process can be very rewarding to our creativity and happiness. If you use any of these ideas or try any of the recipes, we'd be delighted to hear from you!
If you liked this recipe, you are my people! Please share it on your social media accounts, such as Facebook, Instagram, Pinterest, and Twitter! It would sure tickle me, and I would be ever so grateful!
If you haven't already, please look for me on Facebook and Pinterest. I share easy, delicious, family-friendly recipes there every week!
If you enjoyed a post, I'd love it if you would leave a review or a comment. It really helps my little business. ❤❤
Love, GB (Betty Streff)
Sign up for my newsletter and receive a free gift! A printable sign that would look great in your kitchen, framed above your sink, or just placed anywhere to remind us how lucky we are to have dirty dishes!
 Sign up now!
These sandwiches were the perfect addition to the party! So delicious, and they brought back good memories from the past! Thank you Betty for helping make Ashley’s shower so special!
Special friends deserve a special party! It was pure joy and a lovely day!! Thanks for your kind words.