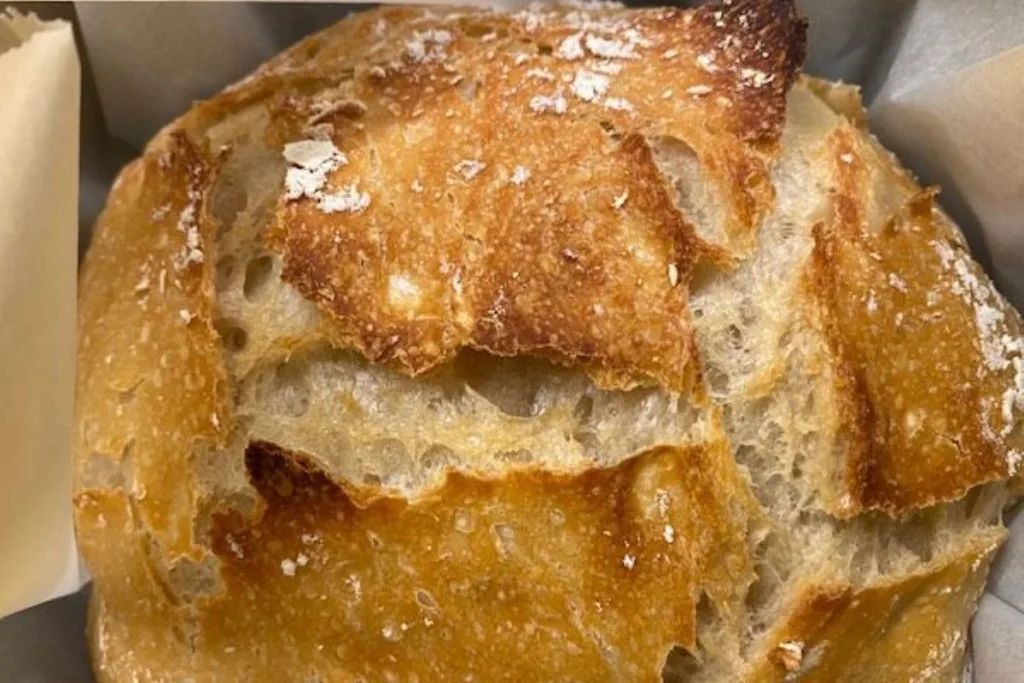
When you go to a fancy bakery or bread shop, a gorgeous loaf of rustic bread like this one might have a price tag of $5.00 or more. Why not bake it yourself at home for pennies and enjoy the amazing fragrance of yeast bread in every corner of your house while you do? It's ridiculously easy!
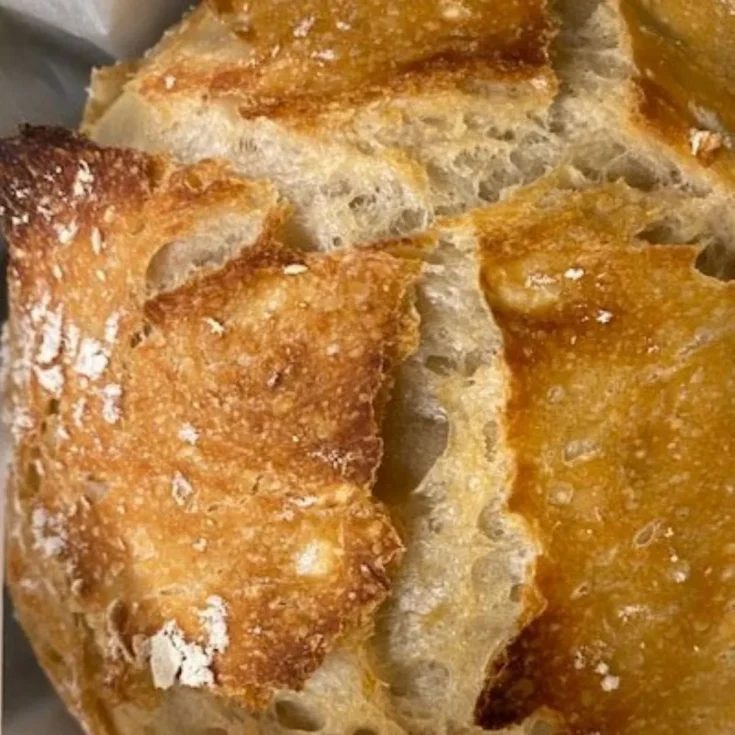
The crispy crust and chewy middle were born to dunk in soup, slather with butter, or top with a thin slice of sharp cheddar cheese. This bread is incredible, but best of all, it's incredibly easy to do!
I was shocked by the outstanding results, even on my very first attempt!
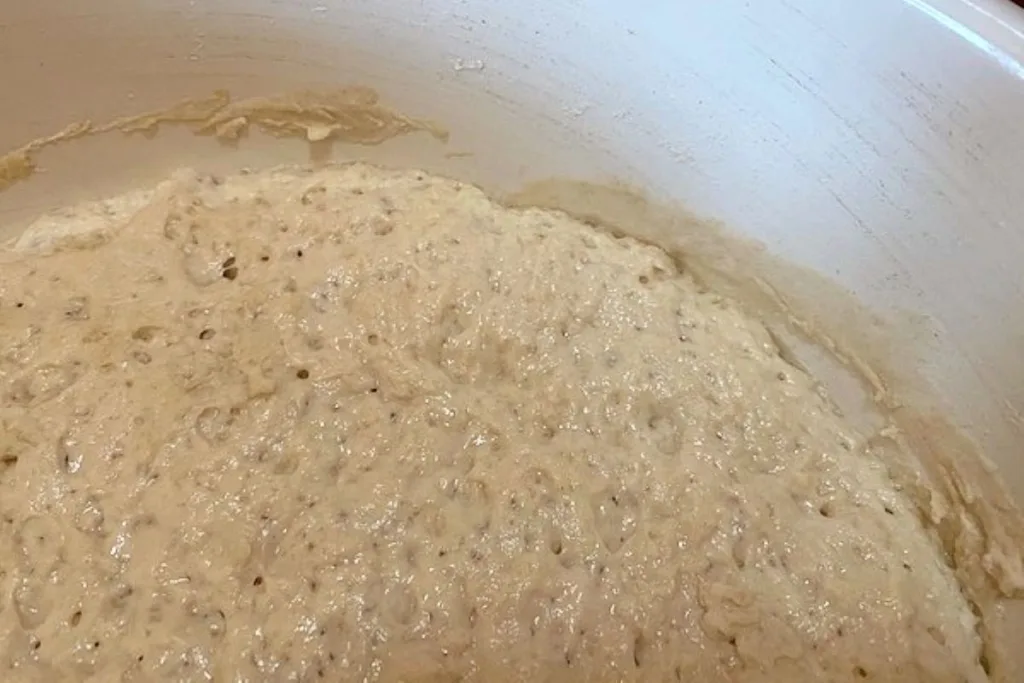
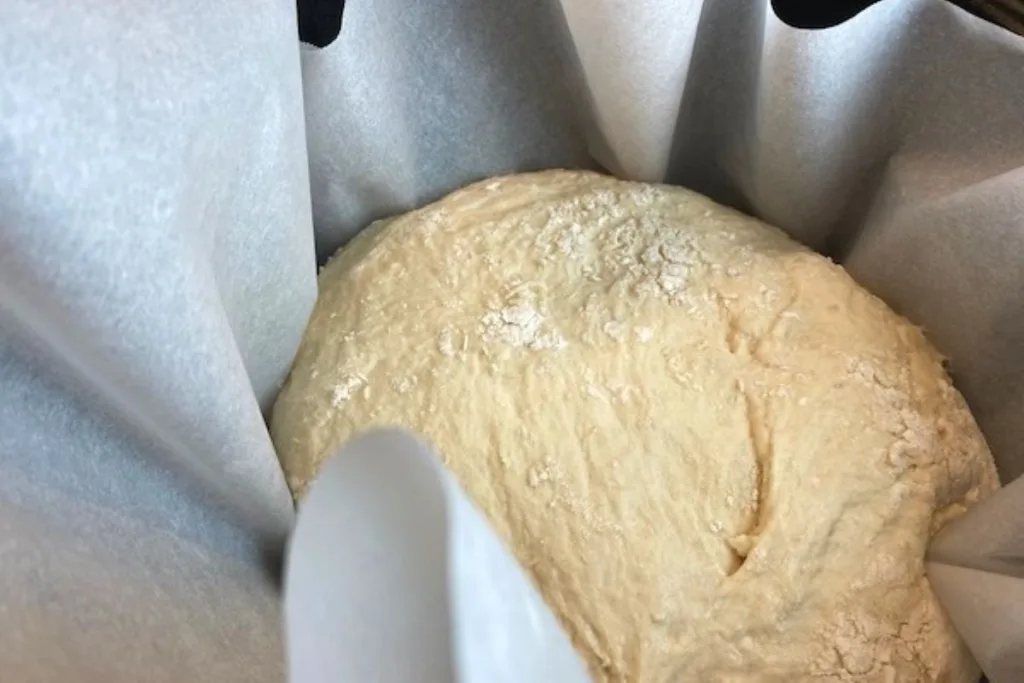
All you need is a bowl, a spoon, and four ingredients to make the dough. While you are doing dishes or before you go to bed, stir up a batch. Cover the bowl tightly with plastic film once you've mixed up the ingredients.
While you're away, the yeast gets busy forming oodles of bubbles in the dough. Look at the bubbly dough and look at all that busy yeast action!
Then, the dough can sit on the counter and wait for 8 hours or up to 24 hours until you are ready to bake it! The slow rise is what gives this rustic bread its distinctive flavor. This gives you amazing flexibility to have a fresh, hot loaf of rustic bread right when you want it!
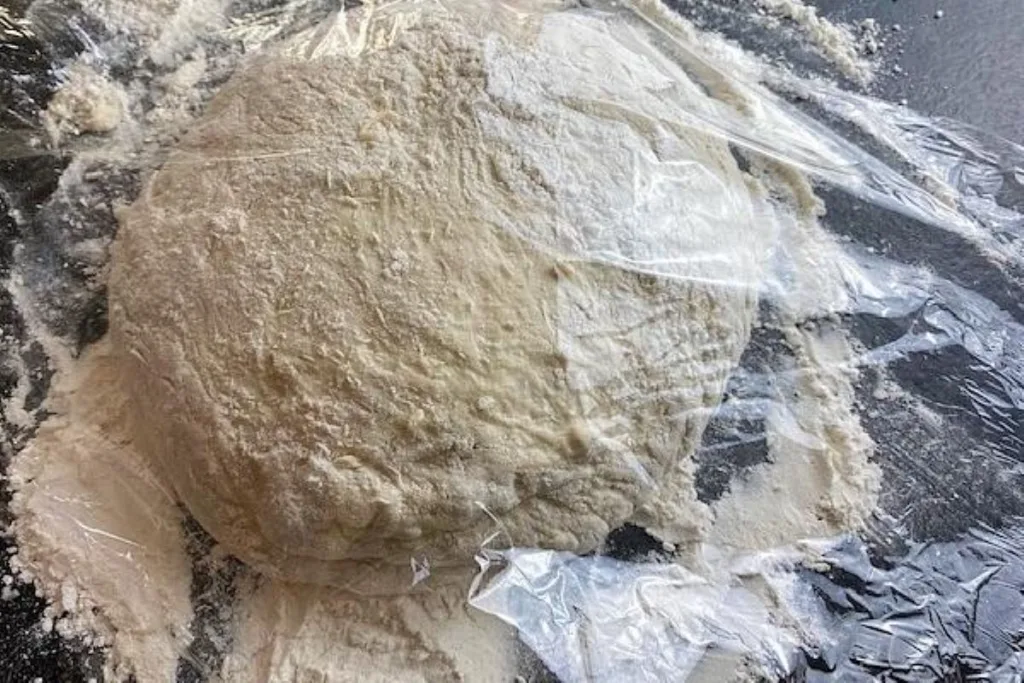
Then, when you're ready, it only takes a few minutes to gather the shaggy, bubbly dough with floured hands and form it into a plump round loaf. Cover the loaf with plastic film and let it rest for about a half-hour.
Meanwhile, preheat your oven to 450 degrees. Put your Dutch oven with the lid on it into the oven to preheat right along with it. Both of them need to be very hot!
When you are ready to bake the bread, put the loaf on a sheet of parchment paper large enough to use as a sling to lower the bread into the Dutch oven. Carefully take the Dutch oven out of the oven and put it on a heat-resistant surface.
Remove the lid and use the parchment paper "sling" to lower the bread into the Dutch oven. Replace the cover and put your beautiful rustic bread loaf into the oven to bake.
Bake the bread with the cover for half an hour while the steam that forms works its magic. The steam gives the rustic loaf its characteristic texture.
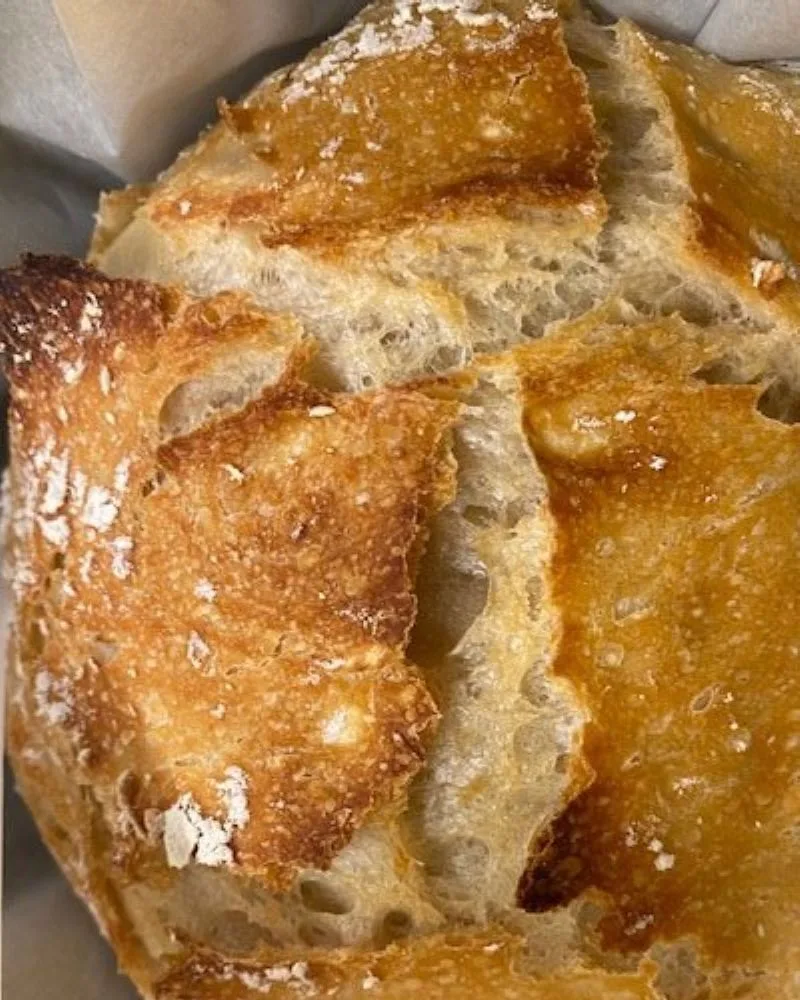
Finally, remove the lid and bake it for about fifteen minutes longer until the crust crisps and browns to a lovely honey-gold color. Voila! You have created your very own beautiful, professional-looking rustic loaf!
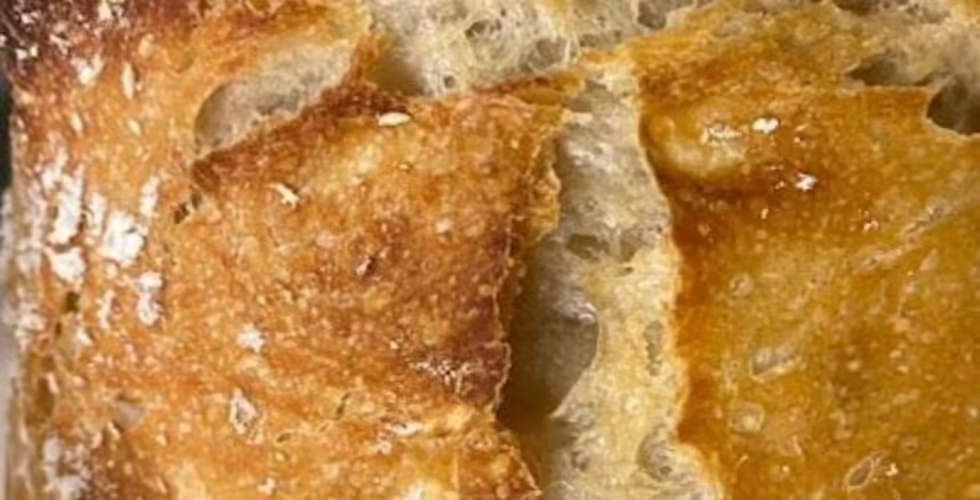
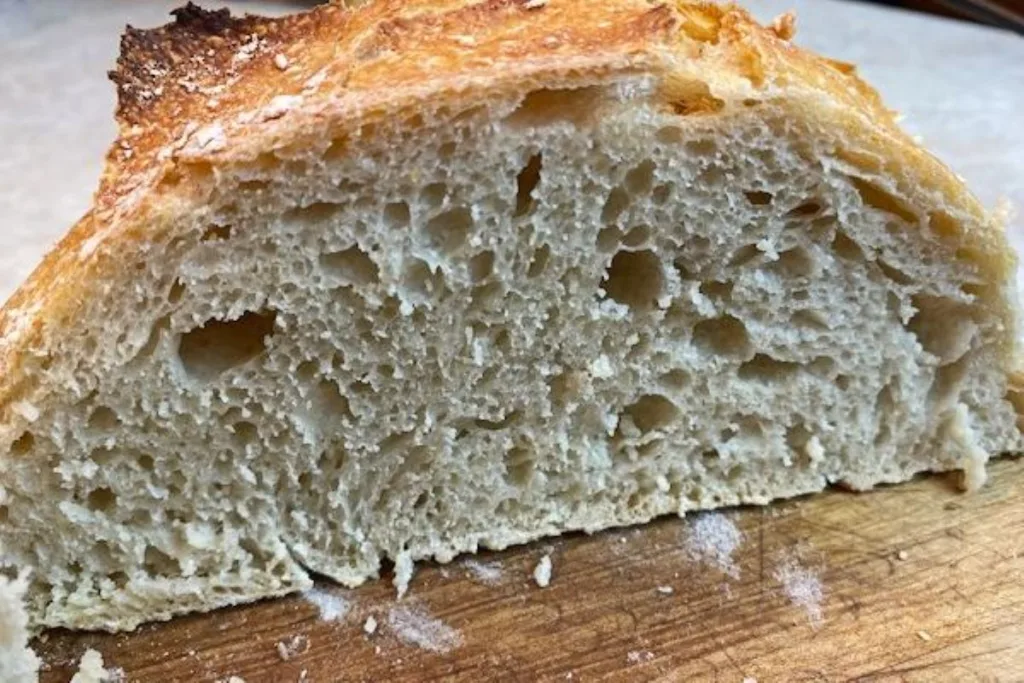
Let it cool a bit before slicing it with a serrated knife. Just look at all those butter-catching craters!
This bread is a perfect accompaniment for soup, makes wonderfully chewy sandwiches, toasts beautifully, and is ideal for a panini press! It is so easy and so inexpensive you can make it often! My friends go wild when I give them a loaf, and I love doing it!
Not every kitchen has a Dutch oven, but don't let that stop you from baking this glorious rustic loaf! A Dutch oven offers tall, thick walls and a snugly fitting lid that holds the steam inside. The steam produced inside the pot is the key to creating the crisp crust and chewy middle.
The vessel you use needs to withstand 450 degrees in the oven. You can adapt any oven-proof stockpot, ceramic baker, casserole dish, roasting pan, or deep skillet. You can fashion a cover using a rectangle of heavy-duty foil secured to the edges of a pot without a lid.
I had someone tell me they used the insert from their crockpot with good results, but slow cooker liners are only rated to 400 degrees when I checked.
The finished loaf will be about an eight or nine-inch round and about six inches tall. I hope this will help you select a vessel to bake it in.
Chances are, though, that you will find loads of things you can do with a Dutch oven, which may turn out to be a really good investment for your kitchen. It's great for soups and stews; use it as a roaster or make a batch of jam! A Dutch oven is a pretty great piece of equipment to have!
This no-need bread recipe has become an internet phenomenon because it's so easy to make and looks exceptionally professional! Even someone without experience with yeast bread can create a delicious, gorgeous loaf.
Incredibly easy rustic bread loaf with a crisp crust and chewy middle. No mixer, no kneading, no kidding.
We love to make yeast bread, and here are some of our favorite recipes! Simple Cinnamon Rolls, One Great Yeast Bread Recipe, Quick French Bread. What's your favorite yeast bread?
If you liked this recipe, you are my people! If you like this recipe, please share it on your social media accounts like Facebook, Instagram, Pinterest, and Twitter! It would sure tickle me, and I would be ever so grateful!
If you haven't already, please look for me on Facebook and Pinterest, where I will share easy, delicious, family-friendly recipes every week!
Love, GB (Betty Streff)
Sign up for my newsletter and receive a free gift! A printable sign that would look great in your kitchen, framed above your sink, or just placed anywhere to remind us how lucky we are to have dirty dishes!
 Sign up now!
Can you use gluten free flour instead?
I do not think gluten free flour would work with this recipe. I did do some internet searching and found this for you. Do let me know if it works for you. https://themodernnonna.com/no-knead-gluten-free-bread/
Hi and thanks for this recipe. I have a 5 qt roaster but the lid has a small hole for steam to escape. Will this work?
I think it would work but could you wrap the lid with foil to keep the steam from escpaing? Do you have another lid that would fit? The steam that builds up inside the baking vessel is what gives the bread the characteristic crust. I'd really like to know how it works for you because the bread is amazing!
Another question. Just 1/2 tsp active dry yeast?
Yes, That's the truth!