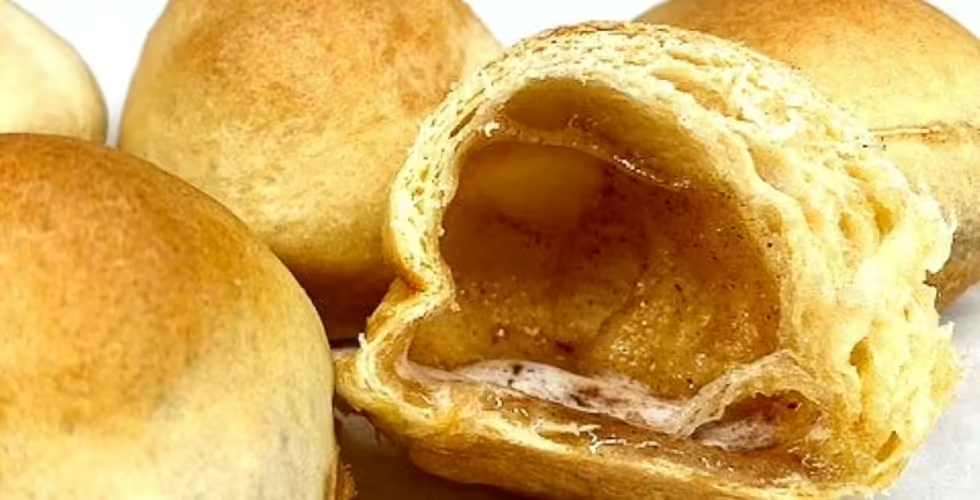
This recipe for Hocus Pocus Buns is well over fifty years old! It was the Grand Prize winner in the 1969 Pillsbury Bake-Off. They were the brainchild of Mrs. Edna Walker from Eden Prairie, Minnesota. Edna descriptively called them "Magic Marshmallow Crescent Puffs."
Though very simple, the recipe was especially noteworthy because it was the first winning Bake-Off recipe to use a relatively new product: refrigerated dough! Following the contest, so many people flocked to their grocery stores to buy Pillsbury crescent rolls that stores actually ran out!
The year 1969 was filled with iconic events like Edna's novel recipe, the first moonwalk, Woodstock, the last public performance of the Beatles, and my high school graduation! Fast forward to 2023, and kids all over America are still enjoying this yummy treat at Halloween with the new name "Hocus Pocus Buns."
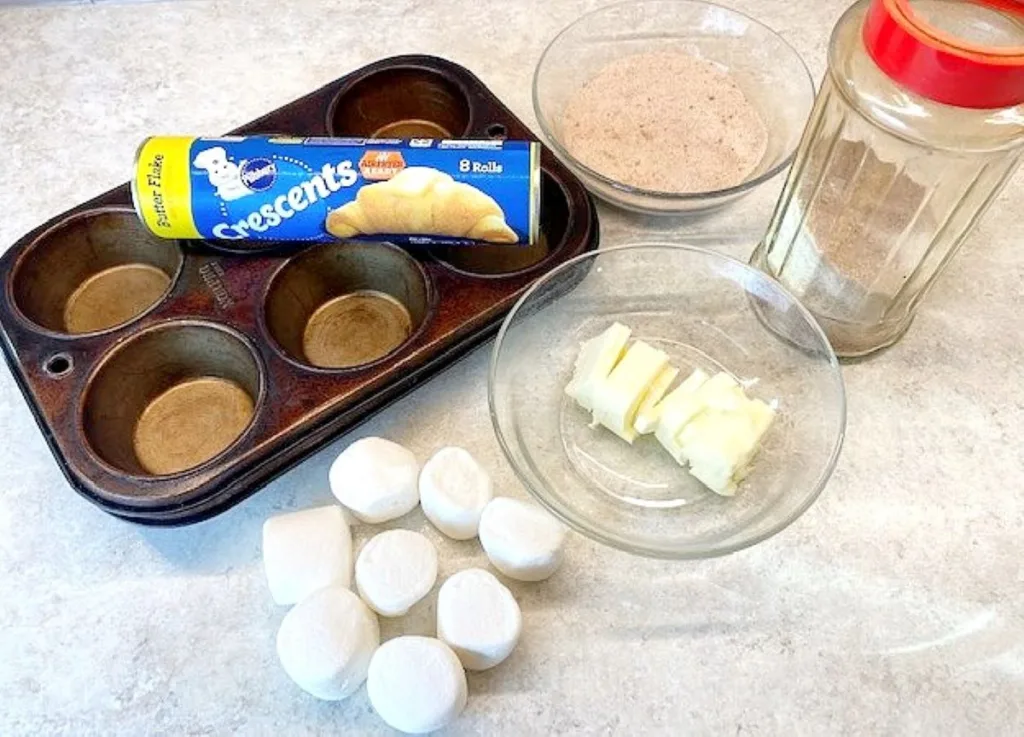
All you need to make hocus pocus buns are four ingredients: a tube of crescent rolls, some large marshmallows, melted butter, and cinnamon sugar. Roll each sugar-coated marshmallow snugly inside a cloak of a crescent roll dough, pop them into a muffin tin, and bake!
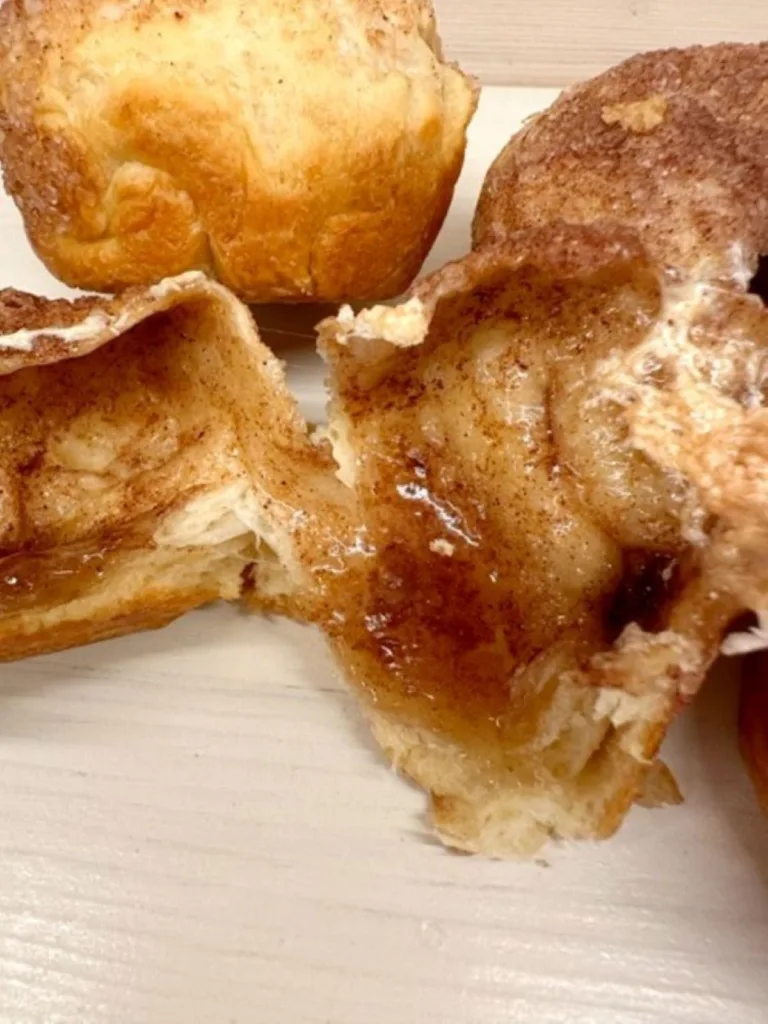
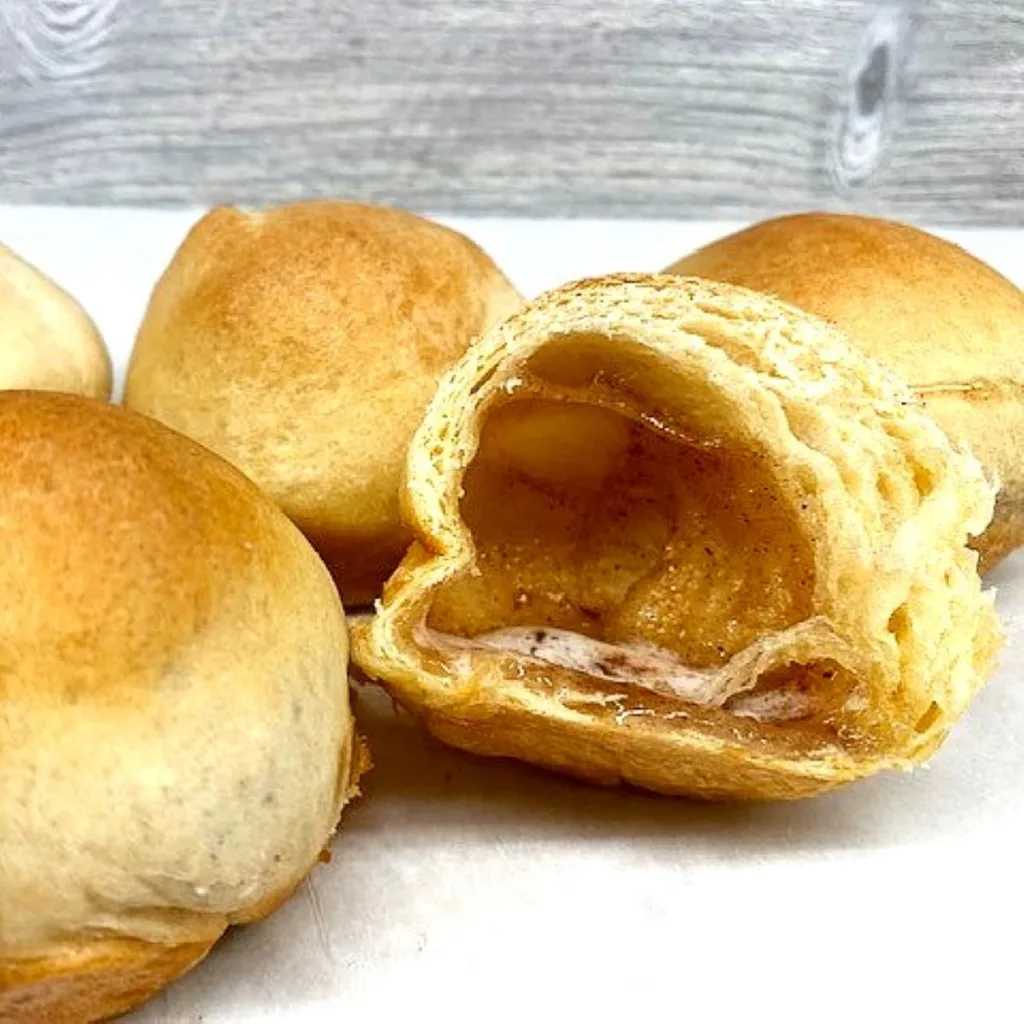
When you bake them, the marshmallow magically disappears, leaving the yummiest, caramelly goo inside. These rolls are incredibly tasty so that they will disappear like magic, just like the marshmallows!
You will need eight large marshmallows from the refrigerator section for each tube of crescent roll dough. Don't use the new-fangled jumbo marshmallows; they are way too big to fit into a triangle of crescent roll dough.
Unroll the crescent rolls and separate them into eight triangles. It works best when the dough is very cold, right out of the refrigerator. One by one, dunk the marshmallows into melted butter and tap off any of the excess.
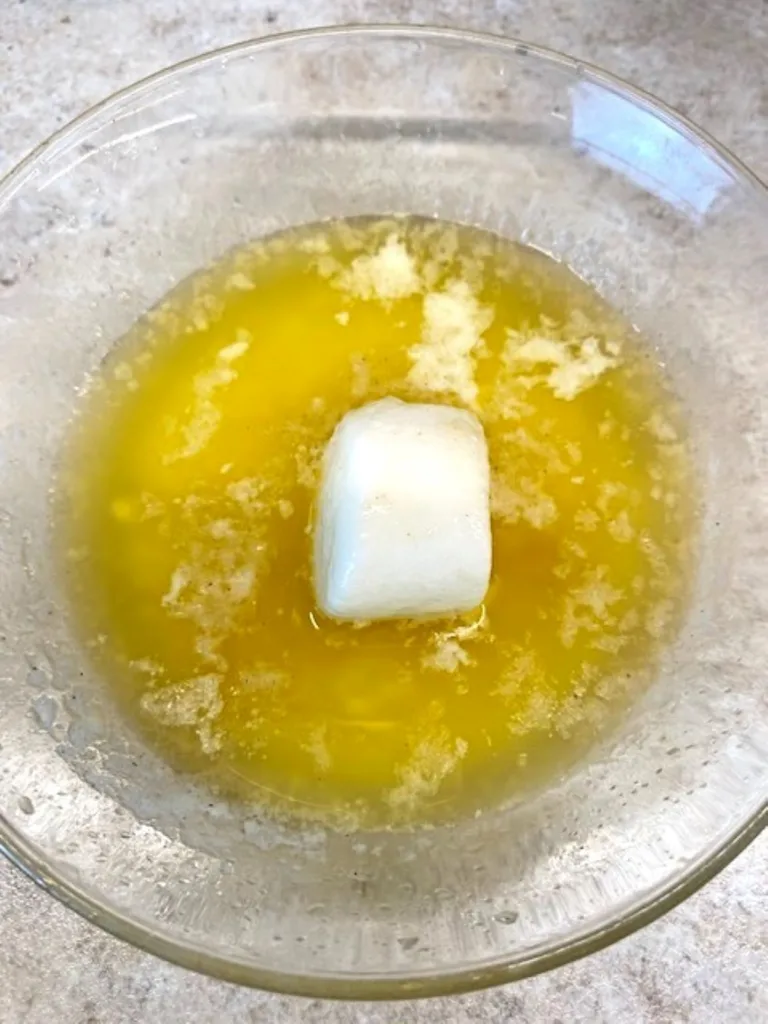
Now roll that buttery marshmallow in the cinnamon sugar and coat it generously, but again, tap off any excess. Use a fork to keep things a little neater!
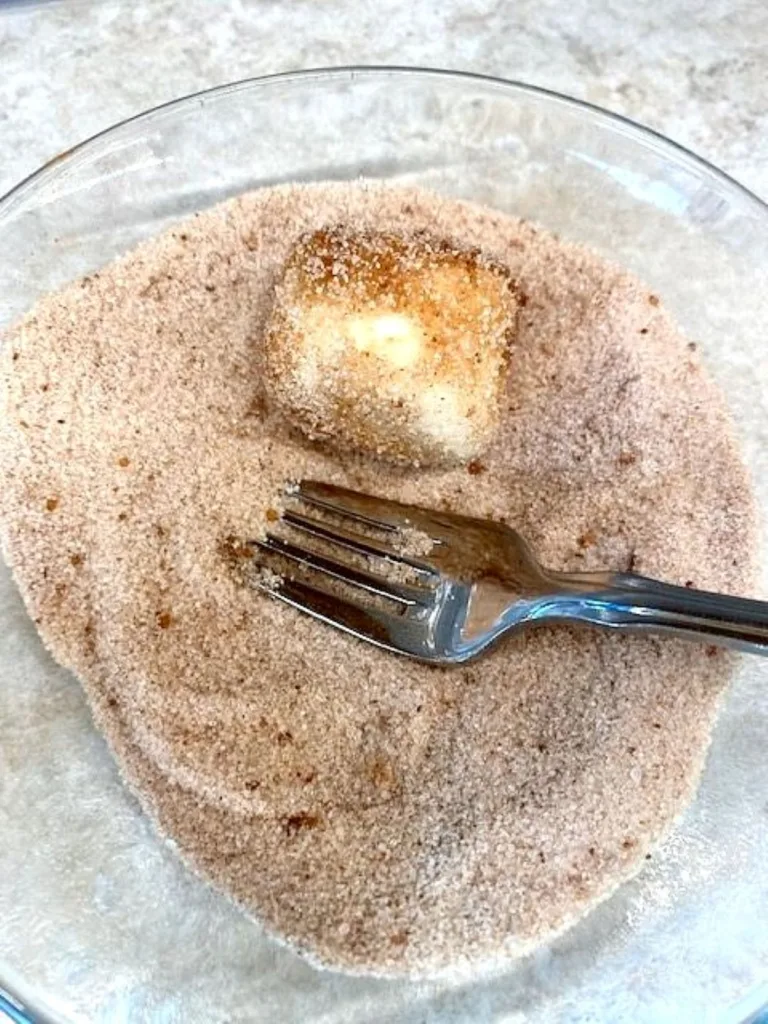
Now, wrap that sugary marshmallow snugly inside a triangle of crescent roll dough. I found starting at the skinny end is easier. Roll it up toward the wide end. This step is by far the trickiest part of this Halloween treat!
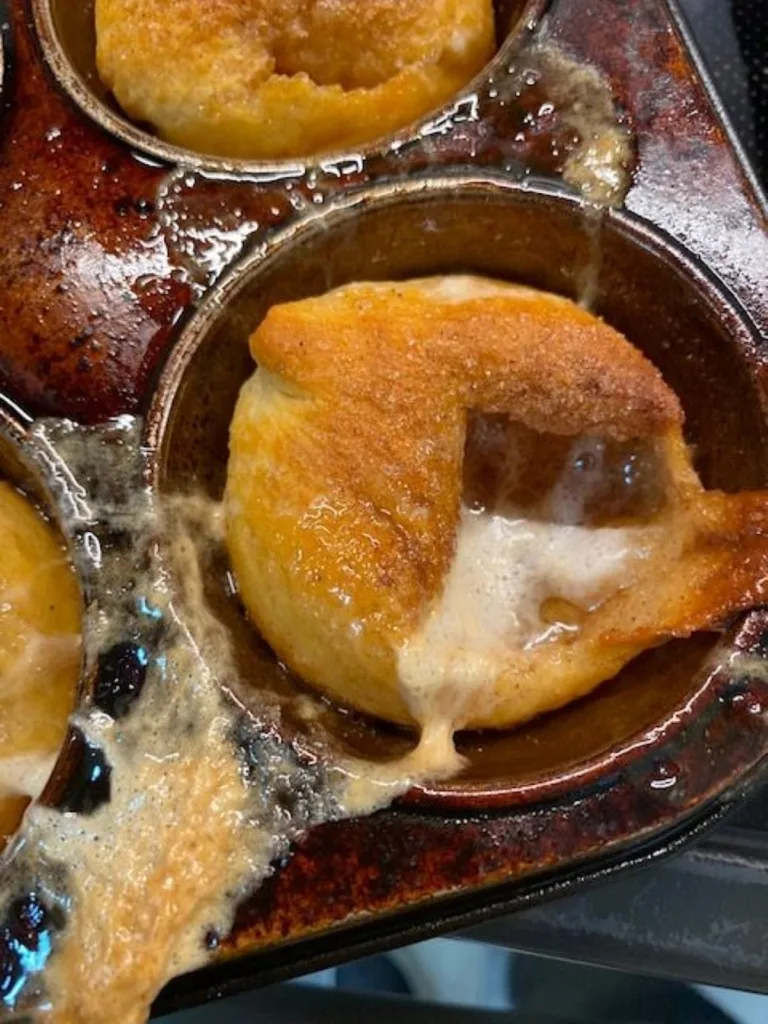
Use your fingers to pinch and pinch each seam shut so the melted marshmallow doesn't sneak out of the dough. Despite my best efforts of pinching, I still had some marshmallow leakage, but it did not take away from the deliciousness of these Hocus Pocus Buns!
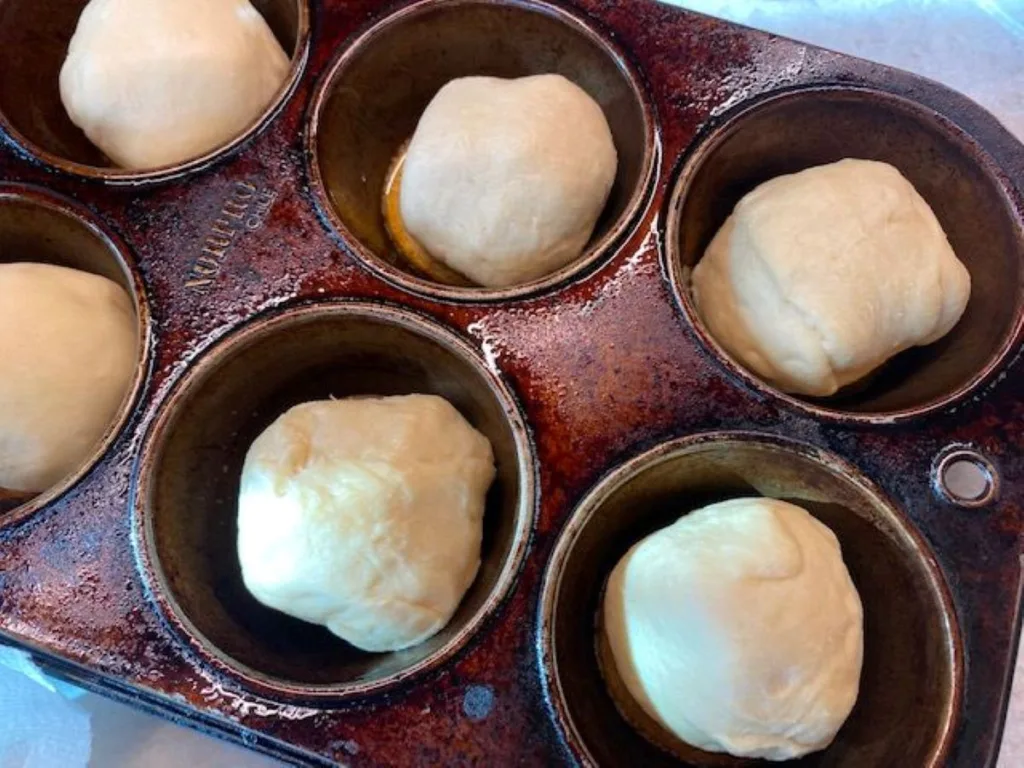
Muffin cups are perfect for this recipe. I had more success baking these yummy buns when I placed each in a greased muffin tin cup rather than on a flat baking sheet. The Hocus Pocus Buns hold their shape better, and it helps keep the marshmallow inside.
My old Norpro muffin pans have served me well for many years, but many newer, better options are available today! If you want, sprinkle some extra cinnamon sugar on the outside of the buns before you bake them.
I dipped the tops in what was left of the melted butter and then in the last of the cinnamon sugar. There's no such thing as too much cinnamon sugar, is there?
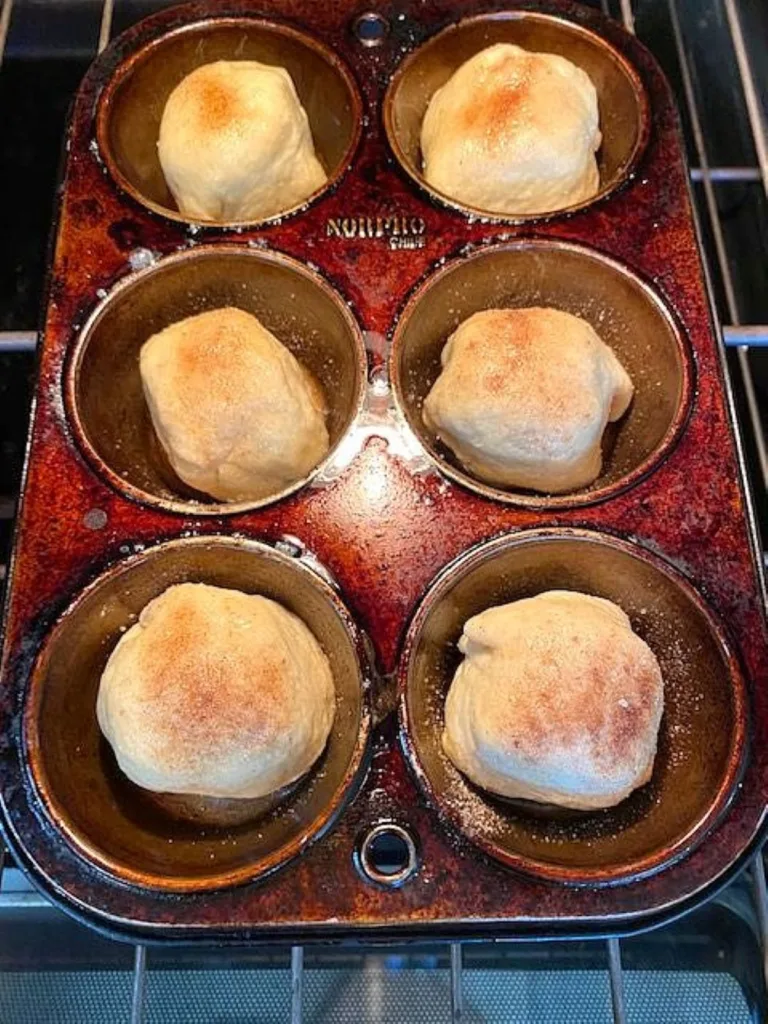
Patience pays off if you want perfection, and with a little more practice, I bet you'll have those babies rolled nice and tight, snug as a bug in a rug! These yummy cinnamon buns will melt in your mouth no matter how they look!
Bake the buns at 375 degrees for about twelve minutes or until golden brown. Don't be alarmed if some of them look like this! They will still taste amazing! I practiced rolling the marshmallows in the dough, and my second batch looked better.
These Hocus Pocus Buns are so much fun to make with your kids for a sweet, sticky, happy memory! Here's another easy treat that would be fun to make for snacking, Chocolate Chex Caramel Crunch!
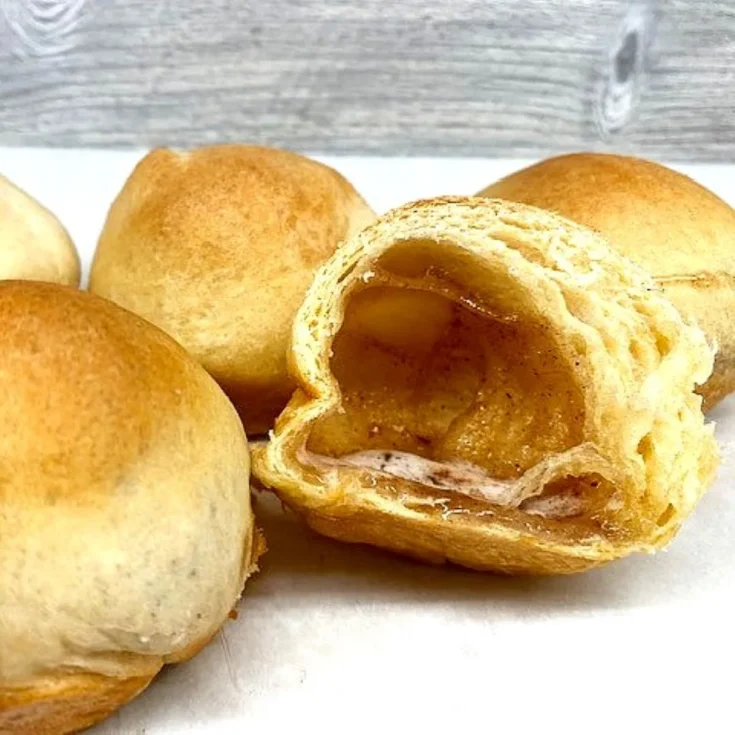
When you dip a marshmallow in melted butter, roll it in cinnamon sugar, wrap it in crescent roll dough, and bake it, something magic happens! The marshmallow disappears, leaving a sweet, gooey filling inside the hollow bun!
If you enjoyed this recipe today, please share it on your social media accounts like Facebook, Instagram, Twitter, and Pinterest. I'd sure be tickled and ever so grateful; thank you!
If you haven't already, check out my Facebook and Pinterest pages, where I'll post easy, delicious, and family-friendly recipes every week!
Sharing is caring!
Love GB, (Betty Streff)
Sign up for my newsletter and receive a free gift! A printable sign that would look great in your kitchen, framed above your sink, or just placed anywhere to remind us how lucky we are to have dirty dishes!
 Sign up now!
We made these in v6th grade home ec class, back in the 70's.
What a terrific memory! Nowadays there is no Home Ec class!😥
Yes there is!!!! We are alive and well here in NJ with 5 FCS (Home Ec. teachers)
Yay for Family and Consumer Science!! I am all for teaching kids how to adult the way you do- I mean it's a far cry from binding the armholes of an apron with bias tape and making cocoa and cinnamon toast! Go you!! Happy it's part of today's curriculm!!