You can make homemade raspberry jam faster and more easily than you think, whether the berries are fresh or frozen. The process is virtually the same, and you'll get delicious results either way. If you are a canning newbie, this is a good one to make; it's not fiddly or fussy at all.
We love to make jam, and when we do, we always say we're having a "jam session" simply because it makes it sound even more fun! Please read through all the instructions before you begin, and be ready to follow them. They are simple but critical to success.
Before you begin, get all your canning supplies together to avoid a mad rush to the store. Once you have started a batch, it's almost impossible to stop.
That's my lovely canning towel. It was probably a graduation gift from long ago. I keep it stashed in a handy drawer on my kitchen island, where we conduct our jam sessions!
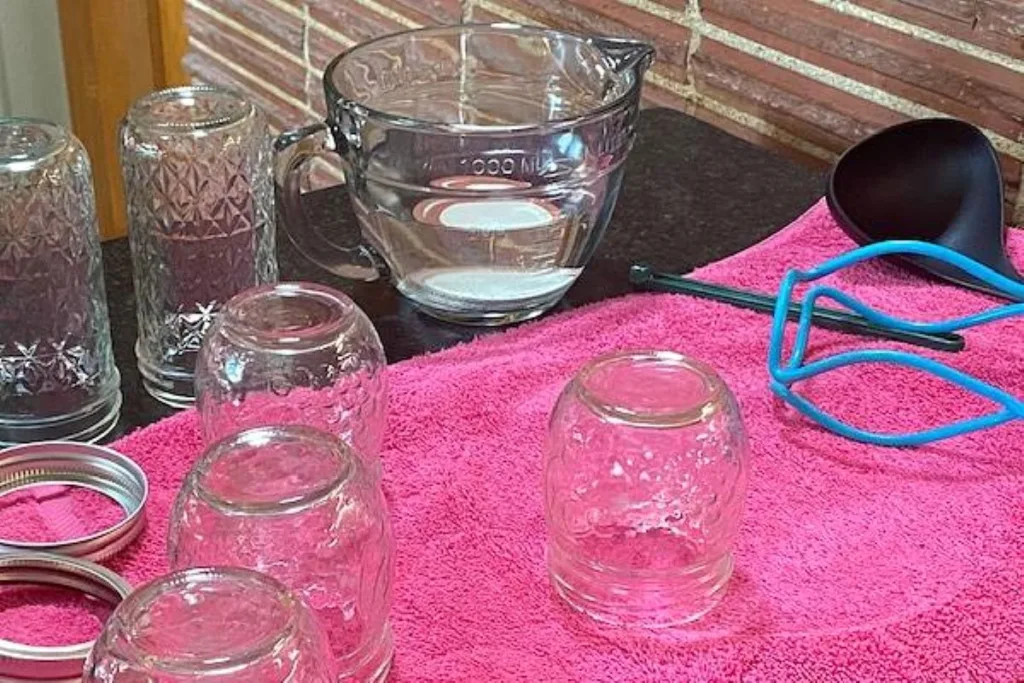
Everything you'll need is readily available at grocery stores, hardware stores, online, and even at Walmart. The things you'll need are inexpensive and last a long time. And believe me, you'll find lots of uses for jars, jar lifters, and canning funnels beyond making jam!
We like to use half-pint jars that hold about a cup of jam. Run them through the dishwasher, or wash them in hot, sudsy water, and rinse them thoroughly before using them. Set the rings aside in a handy spot at your workspace. Put the flats in a container with very hot water. And now you are ready!
If you are processing your raspberry jam for long-term storage, you will need a second stockpot deep enough to hold the jars, allowing at least one inch of water to be over the lids. If you have hard water, add a couple of glugs of vinegar to the water to keep lime from forming on your jars. Set that on the stove now to heat.
Meanwhile, measure exactly seven cups of sugar into a measuring cup and set it aside. This is an important step because when you add sugar to the fruit, you must do so all at once. (Yes, it's a lot of sugar—this is jam!)
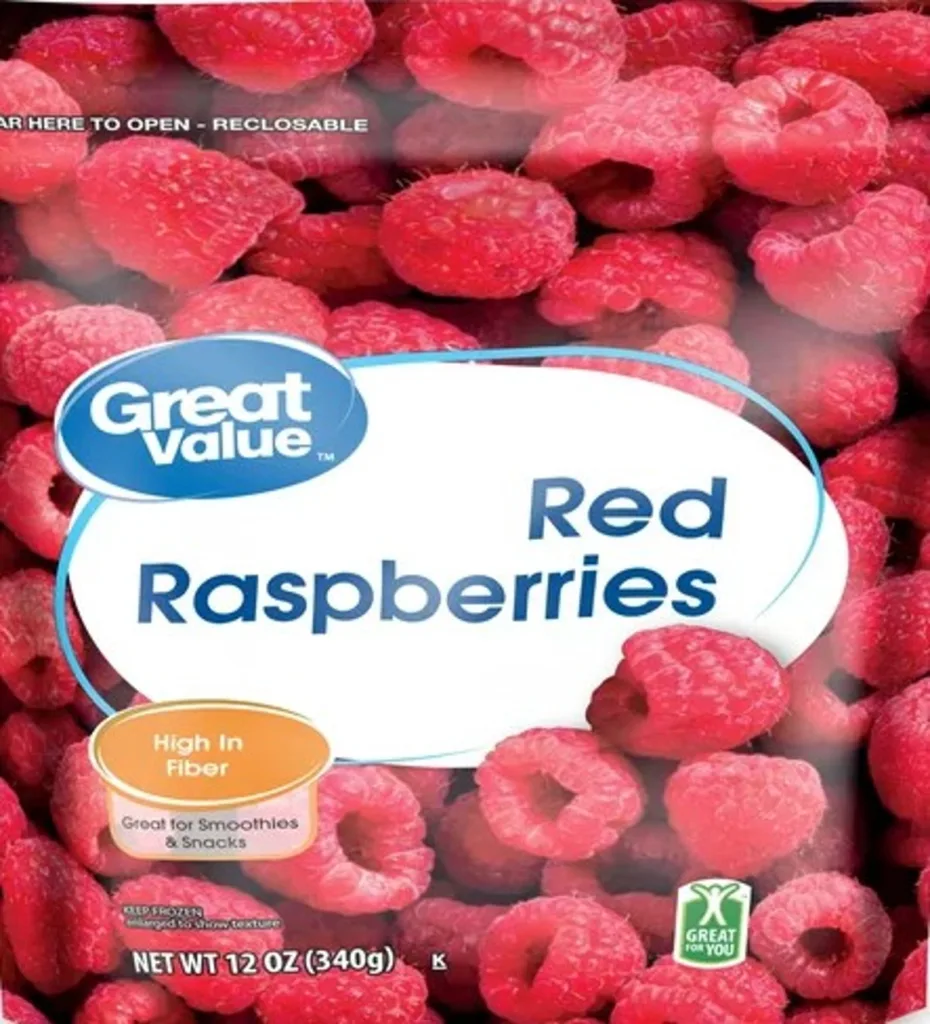
If you're using frozen raspberries, ensure they have NO sugar added! Put them in a large pot over low heat so they defrost, and mash them a little bit. If you are using fresh berries, you must wash them and spread them on a towel to dry, then put them in the pot over medium heat and mash away.
Once that lovely mixture begins to boil, add a box of powdered pectin, lemon juice, and a teaspoon of butter. The butter is optional, but it helps prevent foam from forming on the top of the jam.
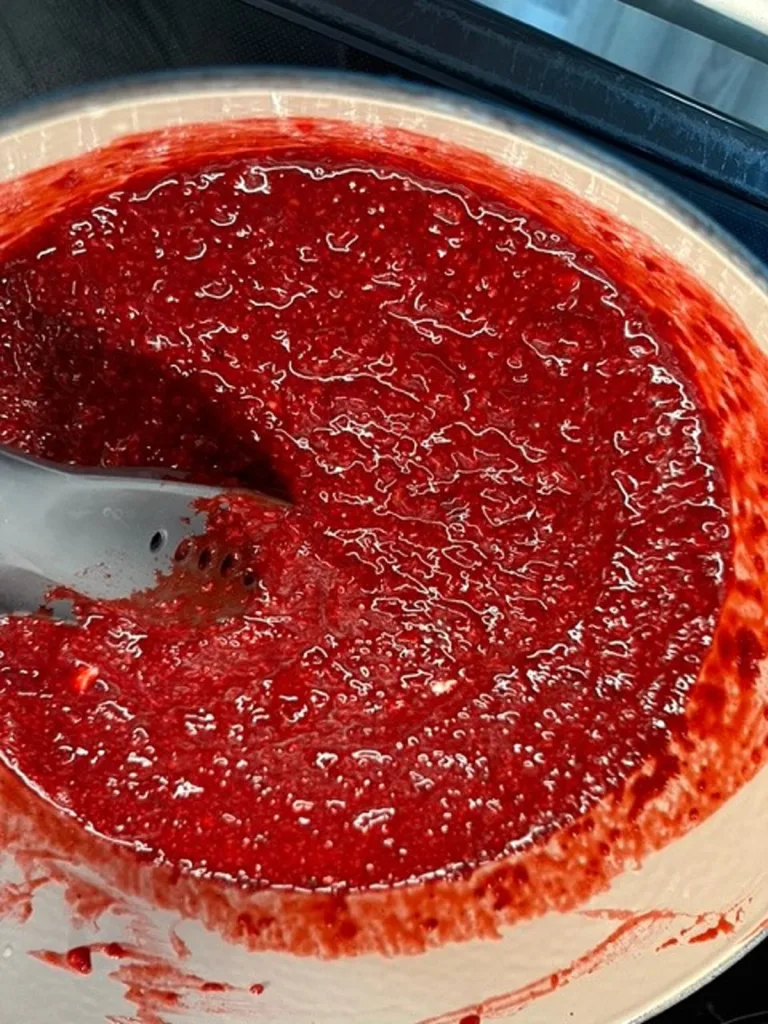
Once the fruit mixture comes to a boil, add all the sugar at once and continue cooking. Yes, it is a lot of sugar. This isn't diet food! Jam is meant to be a treat and eaten in small quantities! As the raspberry jam cooks, the mixture becomes translucent, colorful, and very, very hot.
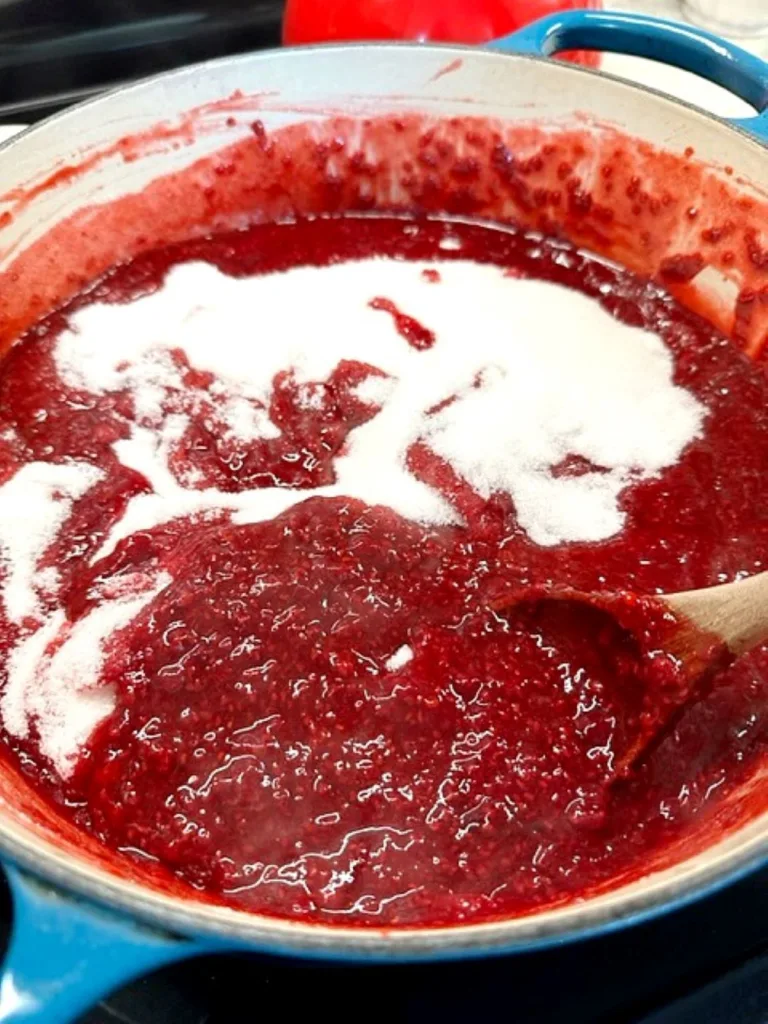
The sugar makes it boil at a temperature even hotter than boiling water. I suggest you use your longest spoon, and I have even put a glove or oven mitt on my stirring hand!
When it reaches a boiling point that you can not "stir down," set a timer for exactly one minute and keep stirring. When the timer sounds, take the pot off the heat and move it to a cooling rack or a thickly folded towel like my hot pink one in the photo!
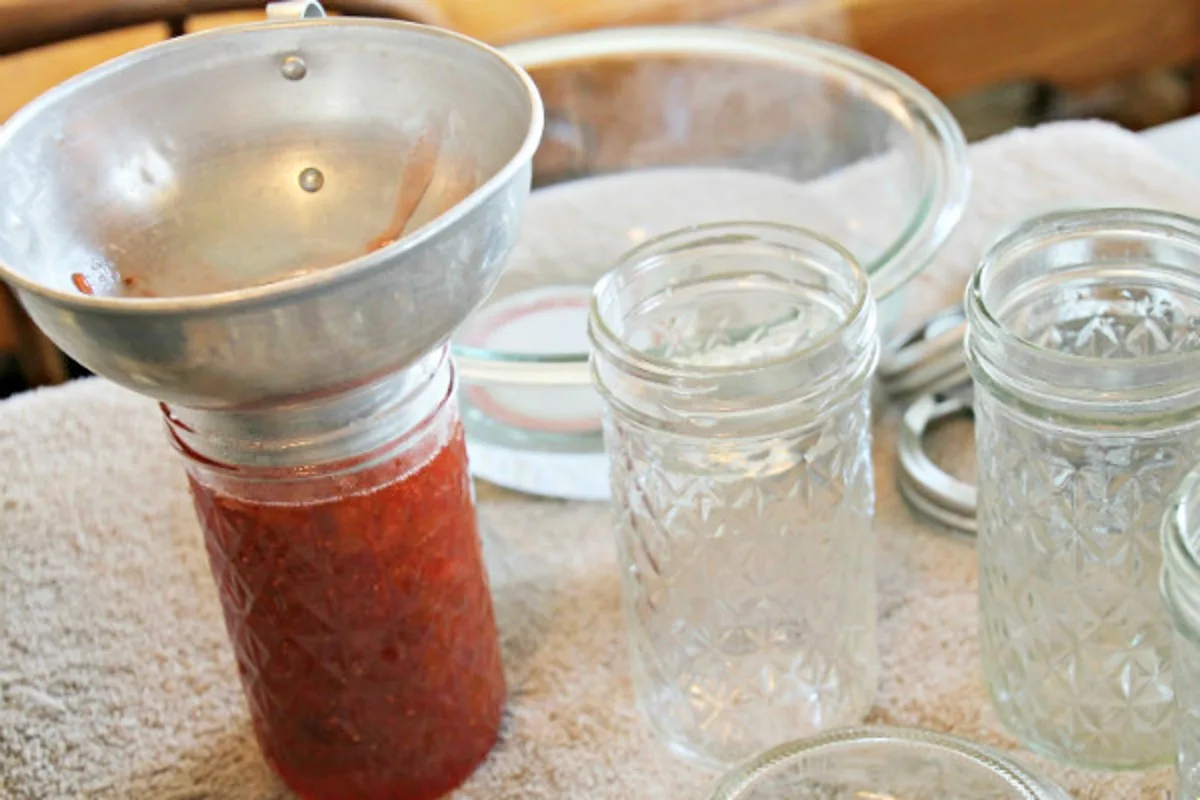
Use your canning funnel to ladle the hot mixture into the jelly jars. Leave at least one-half inch of headspace between the jam and the top of the jar. Use a clean, damp cloth to wipe off the jar's rim.
Place a flat lid on the jar, then screw the lid and ring in place. A magnetic lid lifter is a very handy thing to have for this! It sure saves your fingers!
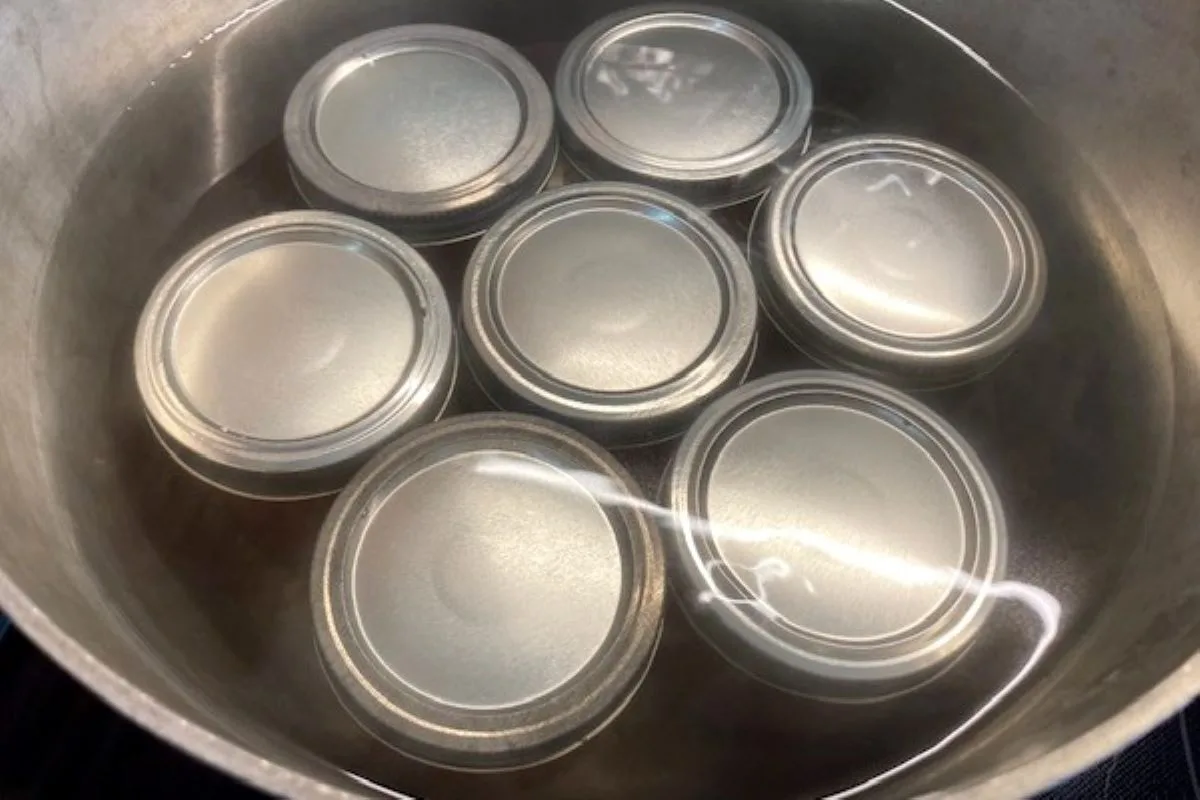
You must process the jars in a boiling water bath for ten minutes. Place each filled jar in the boiling water bath using your jar lifter. Make sure the boiling water covers the tops of the jars by at least one inch. Set a timer.
When it rings, use the jar lifter to remove the jars from the water bath, put them on a rack or thickly folded towel, and let them sit undisturbed until they are completely cool. Success! Enjoy hearing the satisfying "ping" sound as the jars seal. If a jar doesn't seal, keep it in the refrigerator and use it within a month or so.
It's exciting to have made a batch of jam, but please do not try to double a batch to save time. It simply does not work in a home kitchen.
Trying to double a batch of jam can significantly increase the cooking time needed to achieve the proper set. The larger volume of liquid in a standard cooking pot can often lead to sad, overcooked, burnt, or rubbery jam that doesn't set properly because the heat distribution is inefficient.
Good news, though! You do not have to wash the pot if you do a second batch while you have everything out! In fact, my mom often made a batch of strawberry-rhubarb jam followed by a batch of raspberry jam without washing the cooking pot in between!
My post on strawberry-rhubarb jam is especially helpful if you're just getting started.
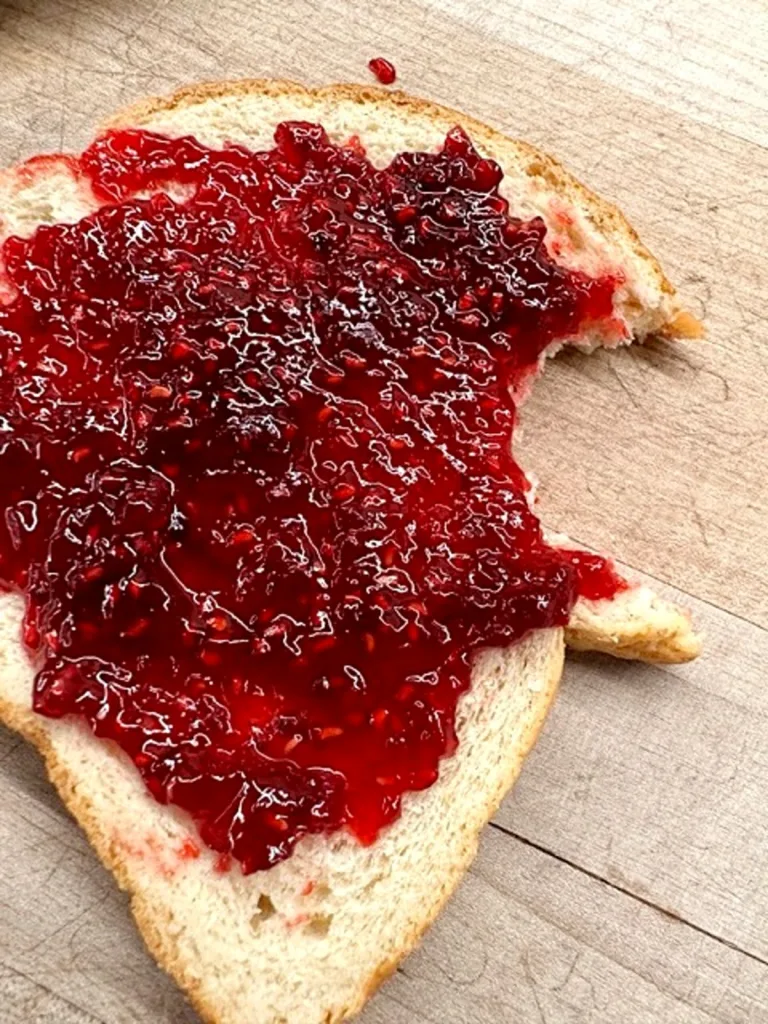
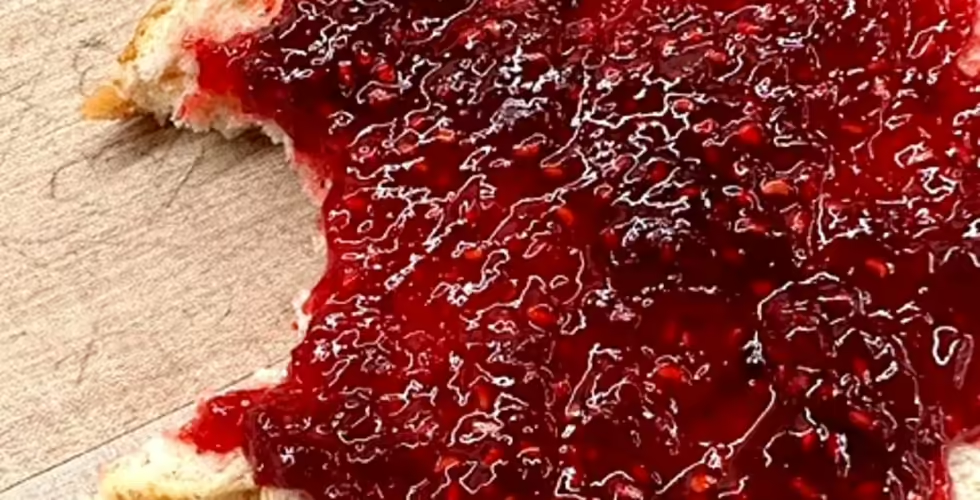
Raspberry jam is amazing on toast, biscuits, or dinner rolls, but it's also delicious over ice cream, stirred into yogurt, or filling the depression in thumbprint cookies. Our daughter gives her special friends a jar of raspberry jam for their birthday, and it's always a hit!
***Or 6 Tbsp of pectin from a bulk jar
We love making jam and jelly! Here are some of our most popular recipes! Strawberry Rhubarb Jam, Apricot Jam, and yummy Orange Marmalade! Watch for lots more jam and jelly recipes! Has anyone ever taught you to make jam and jelly? It's easy and rewarding; we hope you try it!
If you liked this recipe, you are my people! Please share it on your social media accounts, such as Facebook, Instagram, Pinterest, and Twitter! It would sure tickle me, and I would be ever so grateful!
If you haven't already, please look for me on Facebook and Pinterest. I share easy, delicious, family-friendly recipes there every week!
Sign up for my newsletter and receive a free gift! A printable sign that would look great in your kitchen, framed above your sink, or just placed anywhere to remind us how lucky we are to have dirty dishes!
 Sign up now!