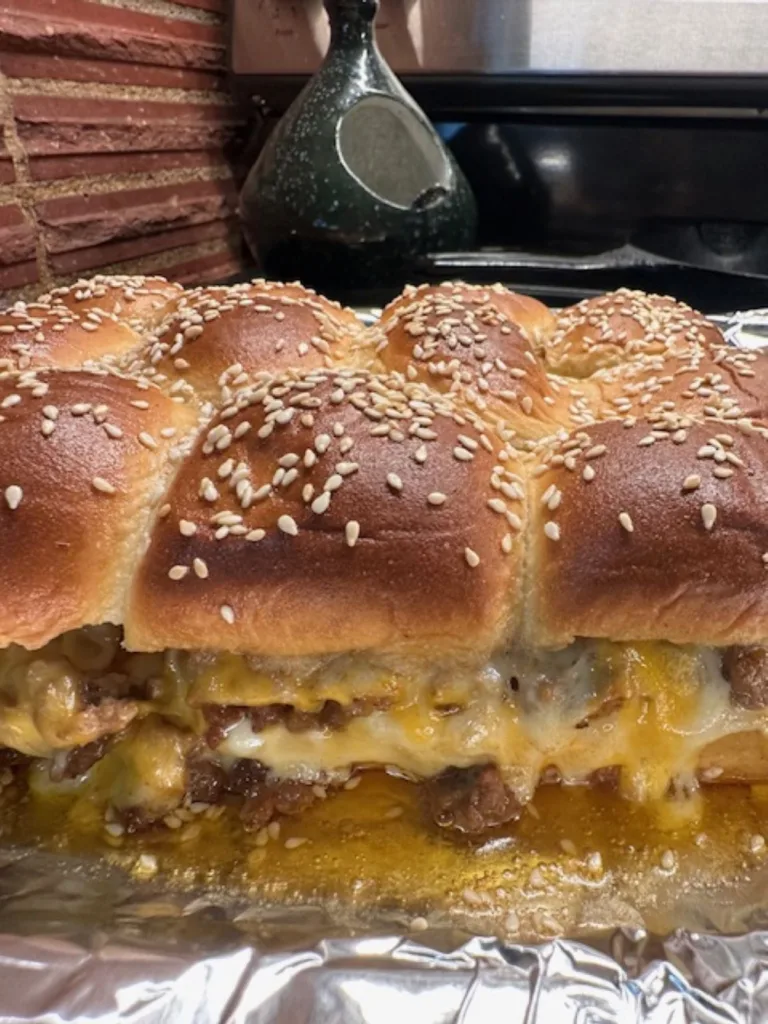
Papa Steve's eyes lit up when he took the first bite of mini cheeseburger sliders. "Oh, wow, this is fantastic!" It's still music to my ears, even after cooking for this guy for over fifty years!
I was happy to have found something so easy to do with such basic ingredients! This mini cheeseburger slider idea has so many possibilities! I love how flexible it is and that you can season it any way you like!
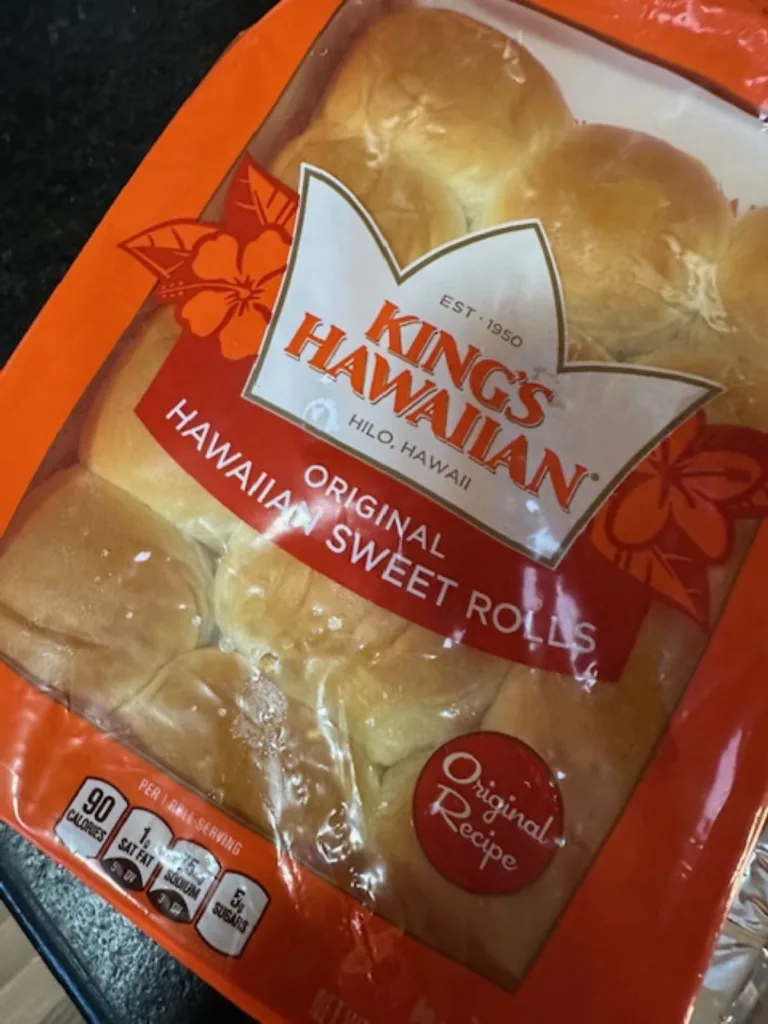
Tasty little Kings Hawaiian Rolls have that "just right" taste and texture for a small sandwich like these mini cheeseburger sliders! They come in a pack of twelve, and they're all connected. When you slice them horizontally, you create a pillowy bed for the tasty filling, and here's how to get started.
Start by covering a rimmed baking sheet with Reynolds Heavy-duty Aluminum Foil so you have an easy clean-up! Turn the oven to 350 degrees before you forget, and have an oven rack in the middle ready for your pan!
I've seen recipes that start by making a slab of ground beef and bake it, but this way is so much easier! If you're onion people and have a few extra minutes, saute some onion in a little olive oil, then add a pound of lean ground beef to the onions and brown it, crumbling as you go. Drain off any excess fat.
Season the hamburger the way you like it. I used onion powder, garlic powder, salt and pepper. Then I added plain old yellow mustard, ketchup, and Worcestershire sauce for some oomph. While that's cooking, slice the rolls horizontally, put the bottom part on the foil-covered sheet pan, and start layering.
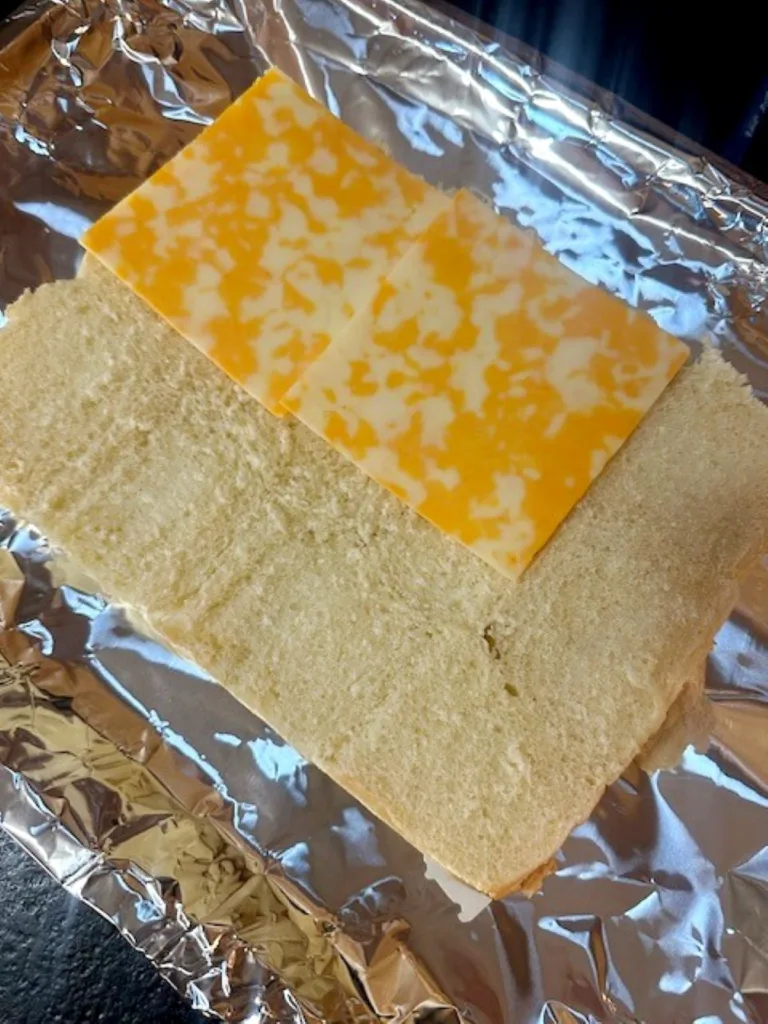
Use any sliced cheese you love: American, Swiss, Cheddar, Provolone, Muenster, you get it. I happened to have some yummy Colby-Jack because the store was running a special.
You can overlap slices or cut them to fit in a single layer, depending on how cheesy you want to be! Next, put the seasoned ground beef mixture on top of the cheese, spreading it evenly to the edges.

Apply another layer of cheese slices and put the top layer of Hawaiian buns on top!

Now for the yummiest finishing touch!

Melt about 1/4 cup of butter. You can add a little Worcestershire sauce to it to give the buns a browner appearance, but I did not this time.
Brush the butter lavishly over the rolls, down the sides, and in between the layers where you can reach. If any spills over, use your brush to coax it back up over the top.
For a little extra crunch and a pretty garnish (you know by now I am a garnish freak!), Sprinkle some sesame seeds generously over the top! Let them sit for five minutes or so to let the butter soak in before you start baking them.
Cover the pan loosely with foil and bake for about eighteen to twenty minutes. Uncover the sliders and return to the oven for another four or five minutes to brown the tops a little. They are so gorgeous!!

When the sliders come out of the oven, you'll need to use a serrated knife to cut them apart. Now, this may seem obvious, but I'm a slow learner. You don't have to make a whole dozen. You can make six or four and freeze the rest of the rolls.
You can prepare them all, bake some, refrigerate the rest, and bake more later. I haven't tried freezing them unbaked yet, but I think they could be cooled, wrapped in foil, and baked from frozen; if you try it and it works, let me know.
I have had great luck reheating foil-wrapped leftovers in a 250-degree oven. We ate these with a salad and sweet potato fries I made in the air fryer. I can't wait to make them again and neither can Papa.

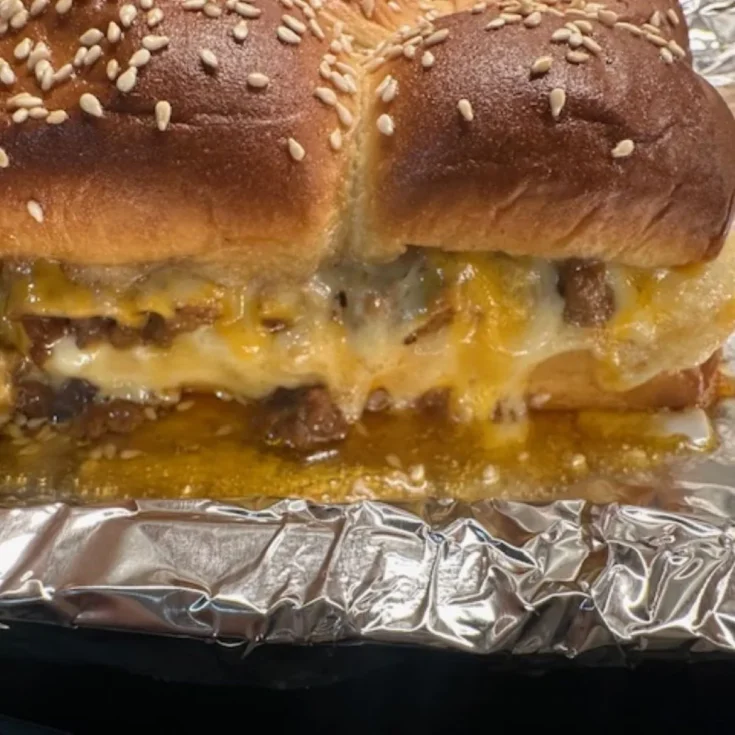
The tastiest little three or four-bite mini cheeseburger sliders, great for an appetizer, a snack, or a light meal. Easy and uses everyday pantry ingredients.
.
We loved these mini cheeseburger sliders, but our grandson DEVOURED the yummy pizza sliders I made for him, and everyone enjoyed the ham and cheese sliders we served at our granddaughter's graduation party!!! Keep watching for more slider recipes; I'm on a ROLL, get it? 😉
If you liked this recipe, you are my people! So please share this post on your social media accounts like Facebook, Instagram, Twitter, and Pinterest if you enjoyed this recipe today. It would really tickle me, and I'd be ever so grateful; thank you!
Love, GB (Betty Streff)
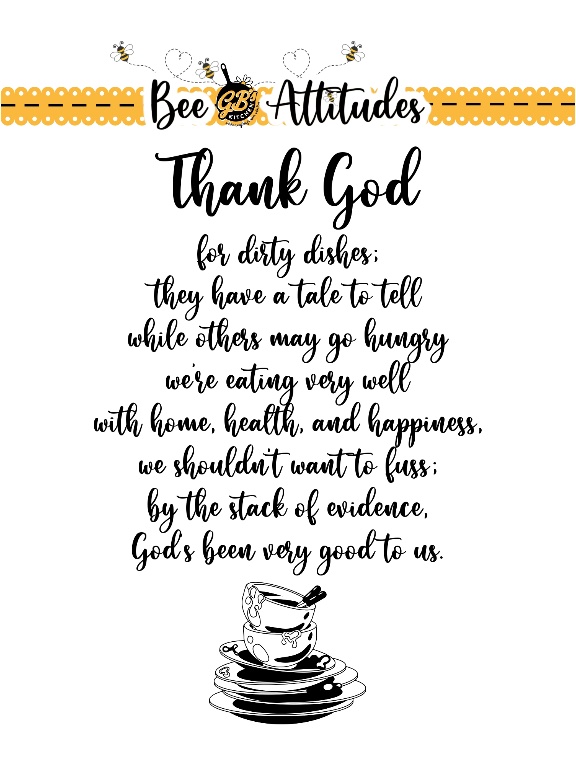
Sign up for my newsletter and receive a free gift! A printable sign that would look great in your kitchen, framed above your sink, or just placed anywhere to remind us how lucky we are to have dirty dishes!
 Sign up now!