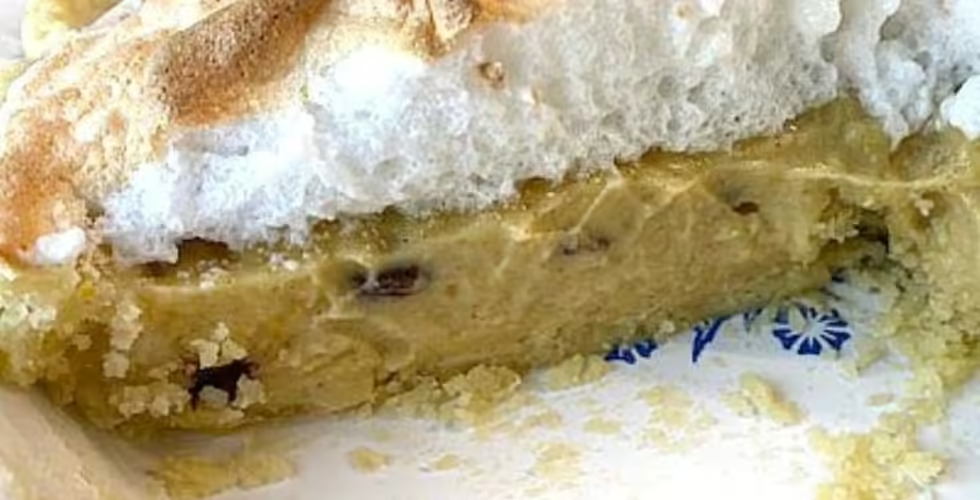
Sour cream raisin pie. I'll be the first to admit it tastes better than it sounds. Today, I'm letting you in on an old secret recipe. Just how old is anyone's guess, but if you mention it to anyone who has had the joy of tasting it, they will probably tell you it's a favorite. Myself included!
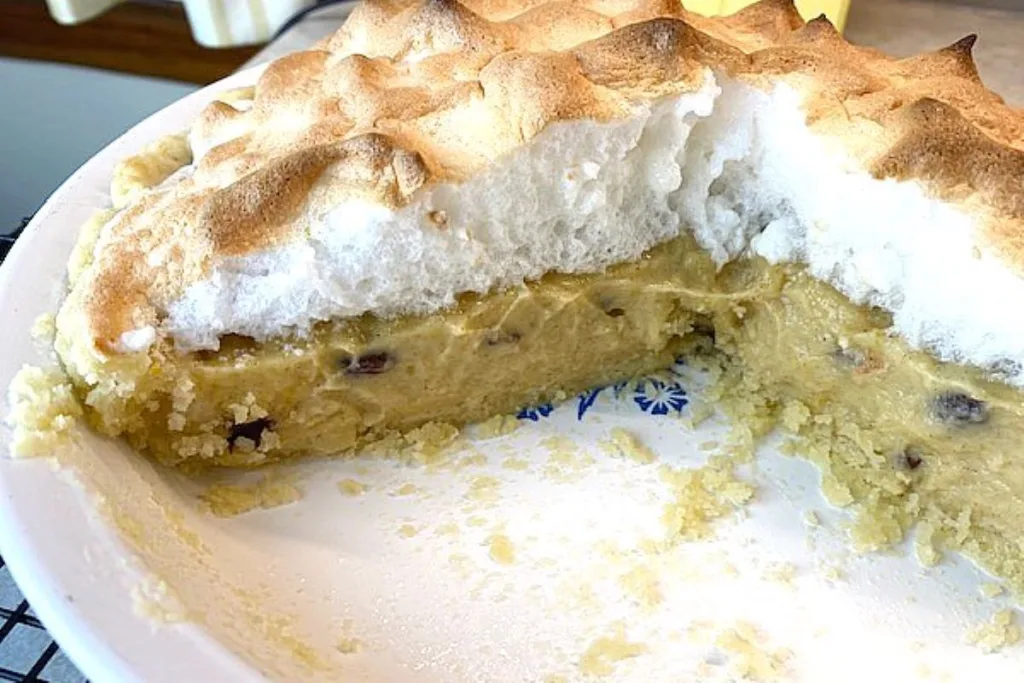
I have a friend who loves sour cream raisin pie, so I started baking her one for her birthday. (We share a birthday, so why didn't I bake two?) Since she doesn't love meringue, I bake it the way my husband's sweet Aunt Dora made it. She took a shortcut.
Aunt Dora used the whole eggs in the filling and then topped the pie with plenty of whipped cream. That is pretty darn tasty for someone like me who has an even bigger fat tooth than a sweet tooth! Bring on the butter, and bring on the cream, I say!
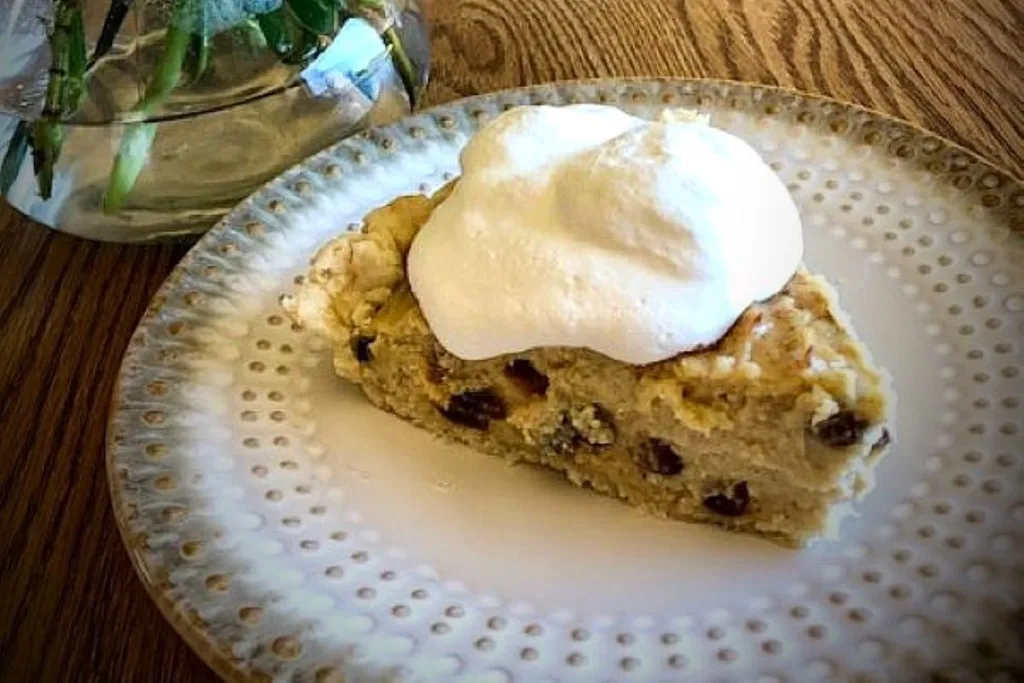
For me, this recipe came as part of the package deal when I married my husband. I had very few close relatives in this country because my parents immigrated here before I was born.
On the other hand, Papa had a tribe that included three of the most adorable unmarried aunts and lots of great cooks on both sides of his family. (We always referred to the three as "the girls," just like their siblings did.) Aunt Dora, the one wearing the stripes, seemed to be the queen of pies. (And cousin Norma Jean on the other side of the family.)

The waters are pretty murky if you try to find out where this recipe originated. It appears to come from Northern European or Scandinavian roots. That makes sense because fresh fruit was not available for much of the year, but raisins were pretty easy to come by.
There are many versions of raisin pie. Some have double crusts, some have an equal amount of nuts as raisins, and some were made like mincemeat pies. In fact, one nickname for raisin pie is "funeral pie." Apparently, it was a good keeper and could be made ahead of time. It was often given as a gift to a bereaved family or served at the funeral dinner.
In this post, I have included a recipe for the crust, the filling, and the meringue, so everything is handy for you, whichever way you choose to serve this fantastic pie! I'll explain exactly how to make both versions. Read the directions carefully.
You will begin by making the crust whichever way you make the pie. Or, buying a crust is certainly acceptable as well! It needs to be a 9" pie shell. Here's a fantastic recipe for a crust that does not require cold butter, waxed paper, or stress of any kind. It's so simple; I call it Patty Cake Pie Crust.
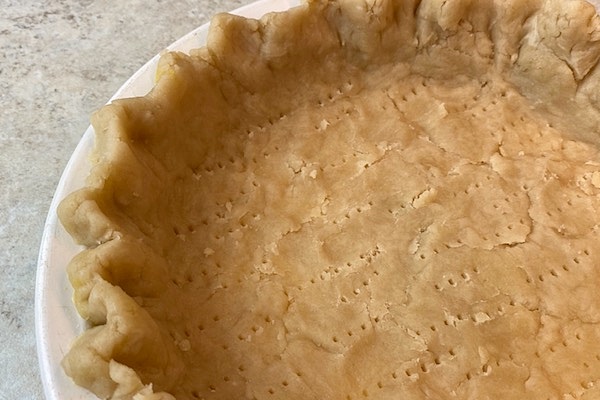
Super easy, flaky pie crust you pat in place with your fingers! No cold butter, no messing with a rolling pin!
Suppose you will top the pie with meringue, then "blind bake" the empty crust. There are loads of tips online about how to do this without the crust shrinking. However, my Patty Cake Pie Crust stands up nice and tall in the oven if you prick it all over with a fork before baking.
I just learned that it is called "docking" a pie crust (even though it isn't a boat.) This step allows the steam to escape, preventing pesky air bubbles that can wreak havoc on your perfectly flat pastry, and it helps the crust to bake more evenly.
Make the meringue before you make the filling. It will wait for you. Separate the eggs. Set the yolks aside for now. Put the egg whites in a scrupulously clean steel or glass mixing bowl. Add the cream of tartar and the vanilla to the egg whites. With a whip attachment, beat until soft peaks form.
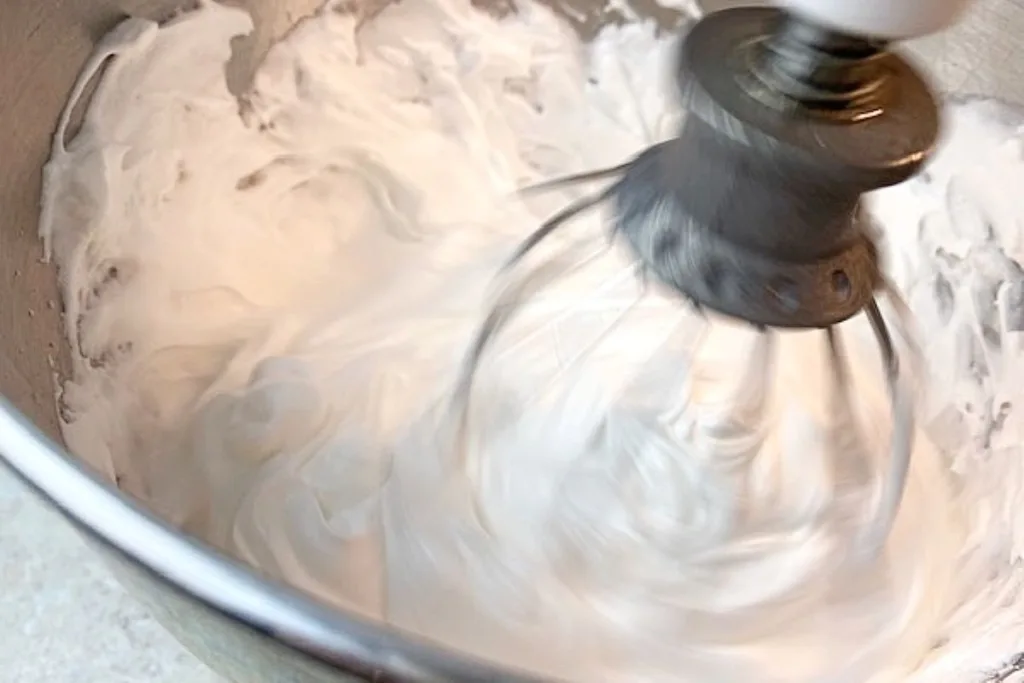
Then, add the sugar a tablespoon at a time. Don't rush this. The sugar needs to dissolve completely. You will be rewarded.
Feel the meringue between your fingers or on your tongue as you go. The sugar should become nearly unnoticeable. It should feel smooth, not gritty. Do not underbeat. If there is any undissolved sugar, it can cause your meringue to "weep." No one wants a sad pie.
Stop every couple of tablespoons and scrape down the sides of the bowl to make sure the sugar is completely dissolved. I allowed about a minute for each tablespoon of sugar and used the time between spoonsful to tidy up the kitchen a little.
Stop when the sugar is all dissolved, and the meringue holds a peak when you lift the whip.
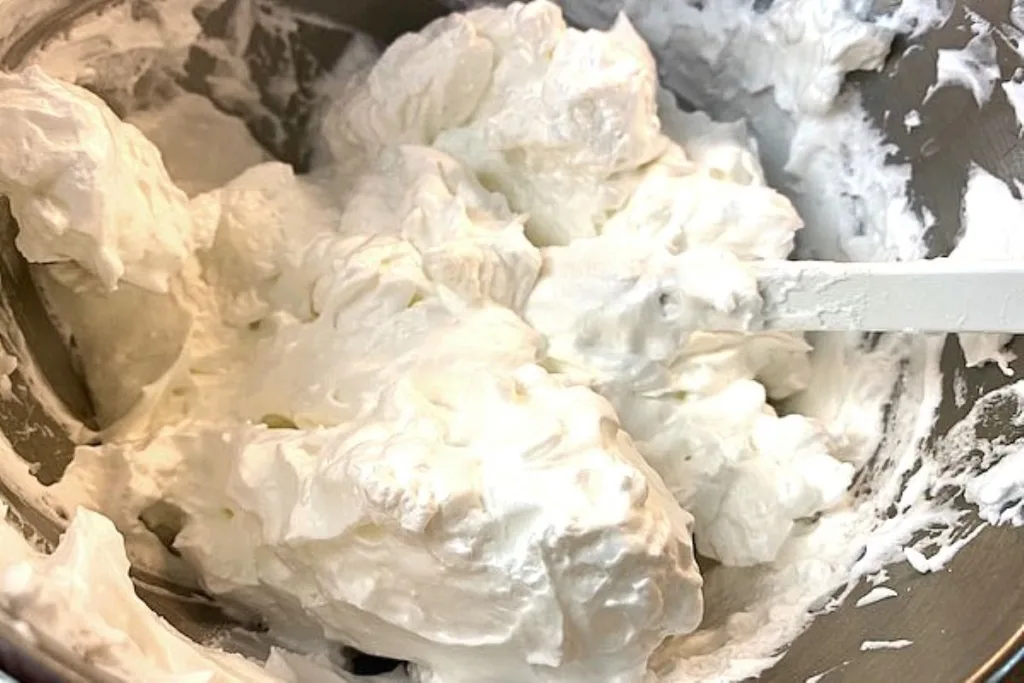
Here are some things that will help make your meringue taller and prettier.
I like to soak the raisins in enough boiling water to cover them before I put them in the filling so they plump up a little. Do that, then combine the sugar, cornstarch, salt, and cinnamon or nutmeg in a heavy saucepan. Add the egg yolks and sour cream. Cook over medium heat, constantly stirring, until the mixture thickens to a pudding-like consistency.
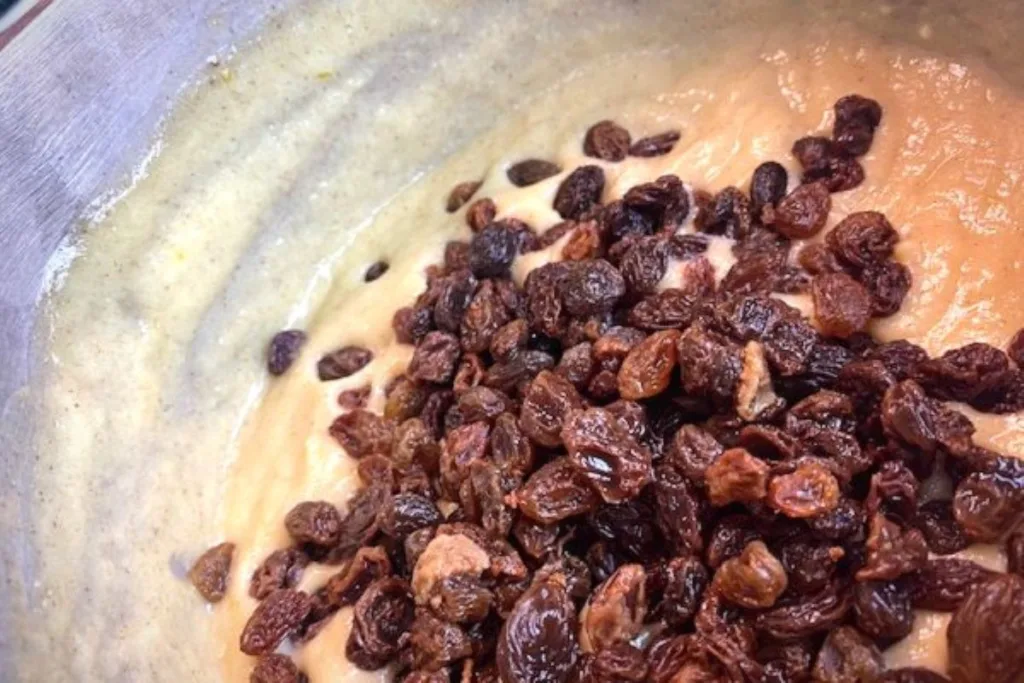
Drain the raisins well and add them to the filling. Stir until they are evenly distributed. Pour the filling into the baked pie shell.
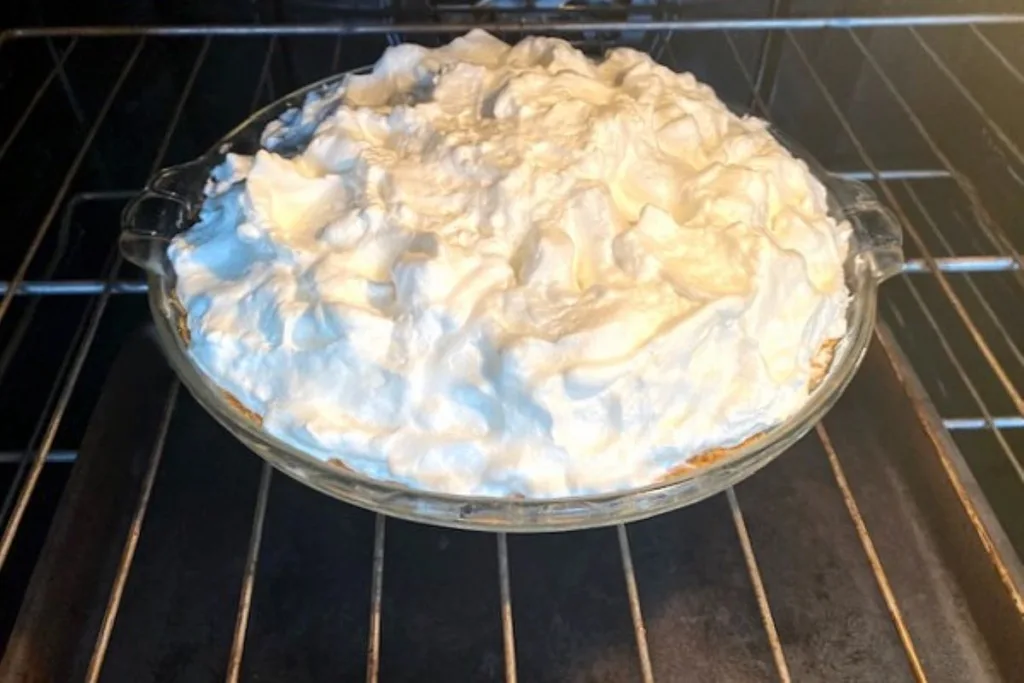
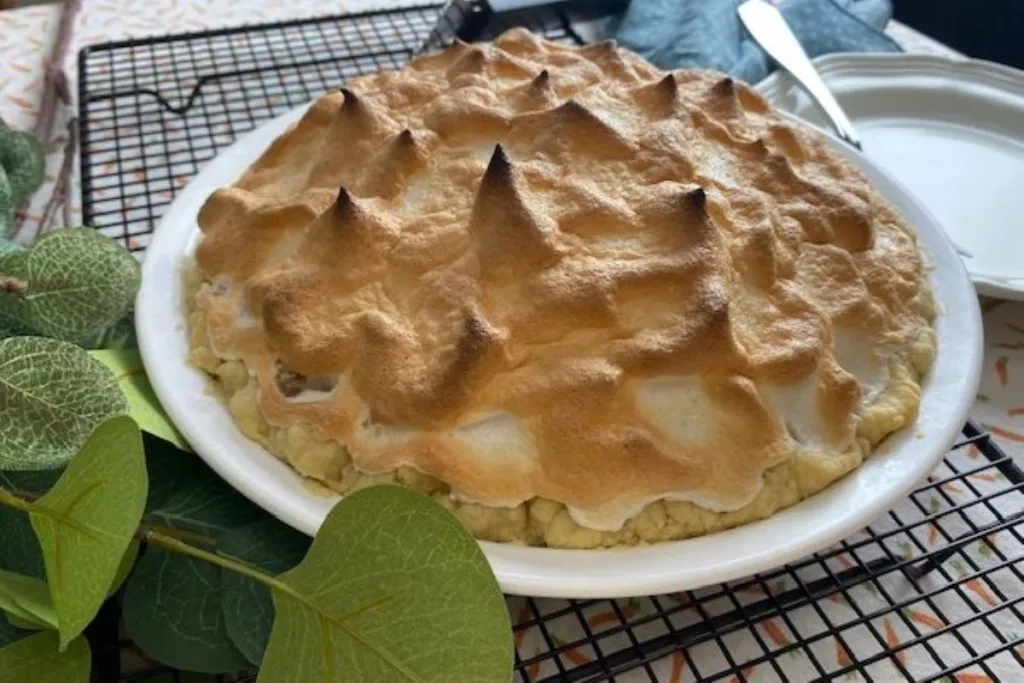
Pile the meringue onto the pie filling. I like to use the back of a spoon to spread it around. Leave it higher in the middle and make lots of peaks.
Important step: Carefully bring the meringue to the crust's edges all around the pie. Make sure it sticks to the crust. This critical step keeps the meringue from shrinking as it bakes.
Bake it in a 425-degree oven for 10 to 12 minutes or until the meringue turns a beautiful golden tan and the tips are a slightly darker shade of brown.
Are you not a fan of meringue? Think it's too much work? Aunt Dora was a cutie pie, but she was a smart cookie, too. She saved time and energy by making the same filling but using whole eggs and not baking the pie crust first. By eliminating two steps, she made this pie just as tasty but lots faster.
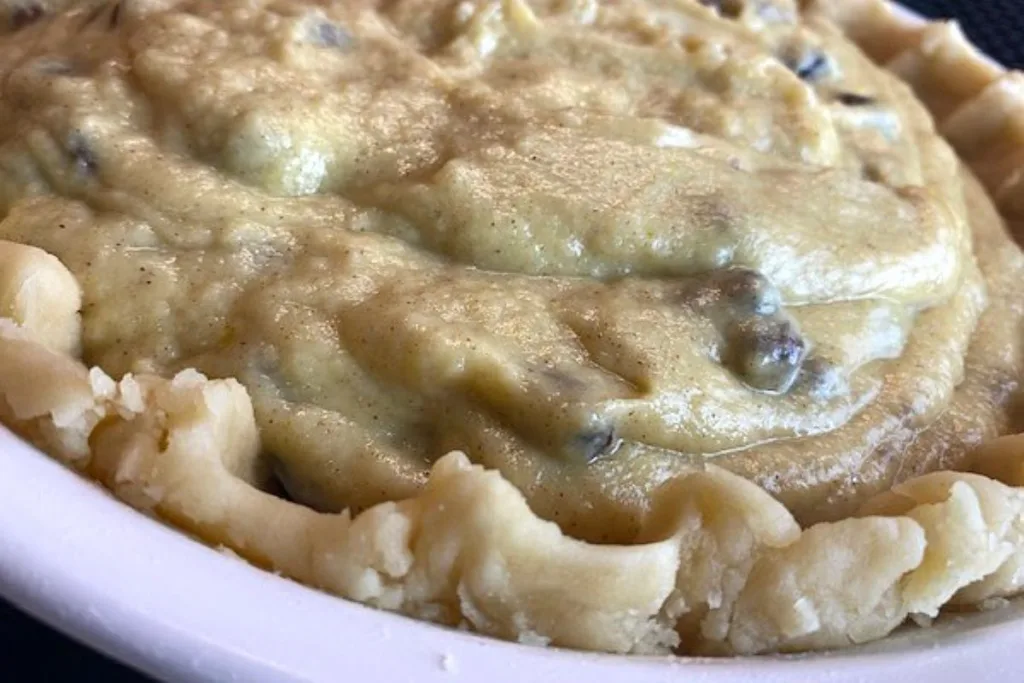
Cook the filling and put it in an unbaked crust. I sprinkled a little cinnamon sugar on mine just for good measure! Bake it at 425 degrees for about 10 minutes, then turn the oven down to 350 degrees and bake it for about 30 minutes. The surface of the pie will be a lovely golden brown.
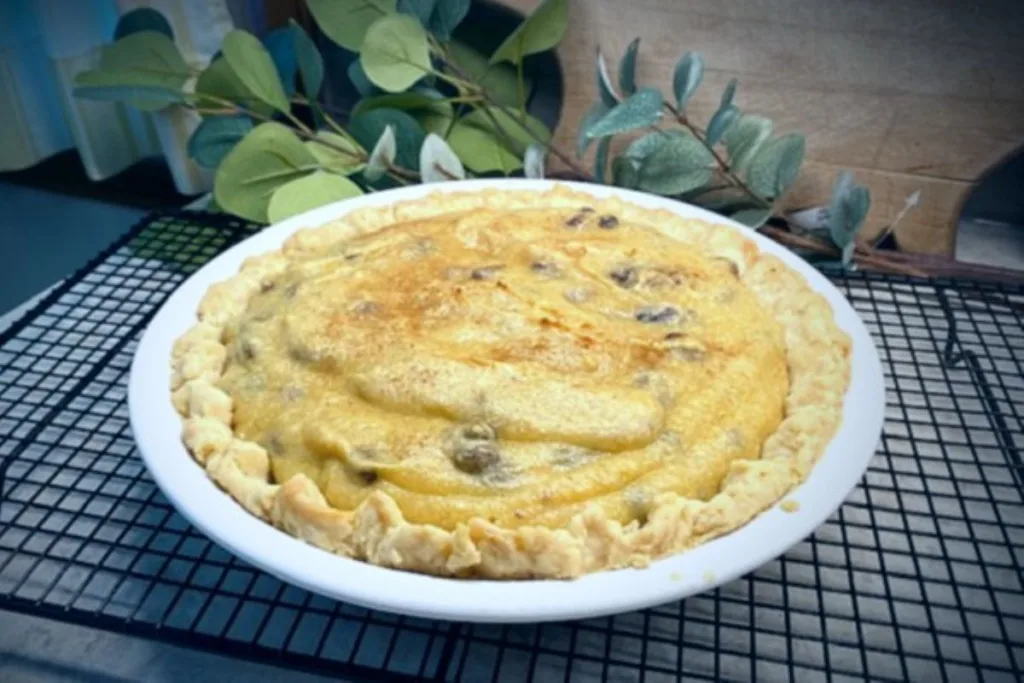
Let it cool, and slather on the whipped cream or your favorite whipped topping. I love it this way, too, and it is much faster!
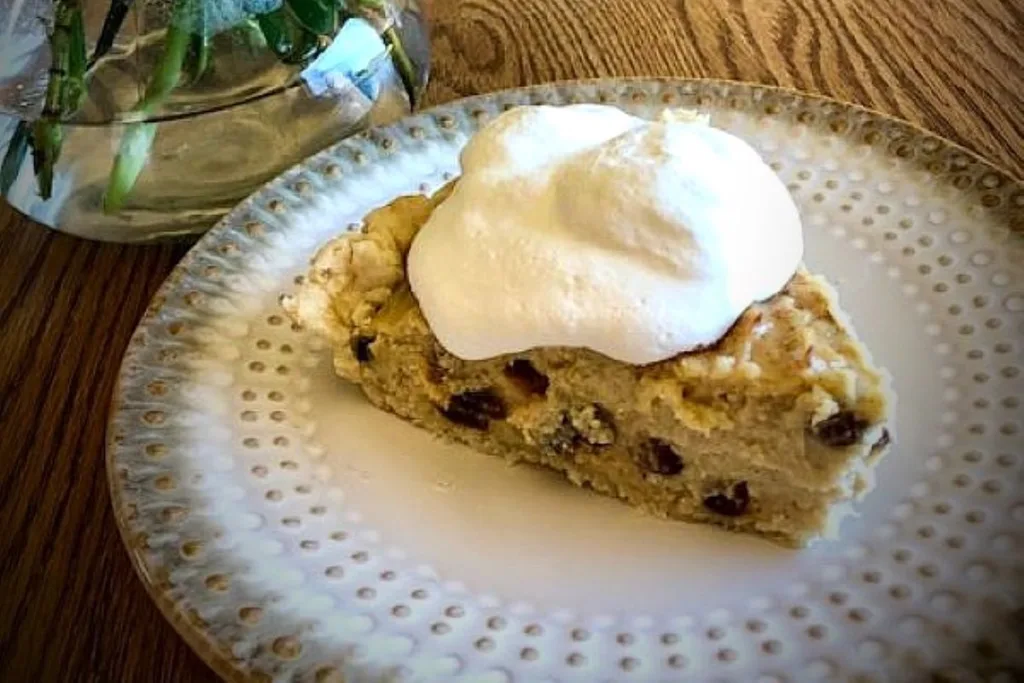
Try this pie both ways! Either way, it is delightful!
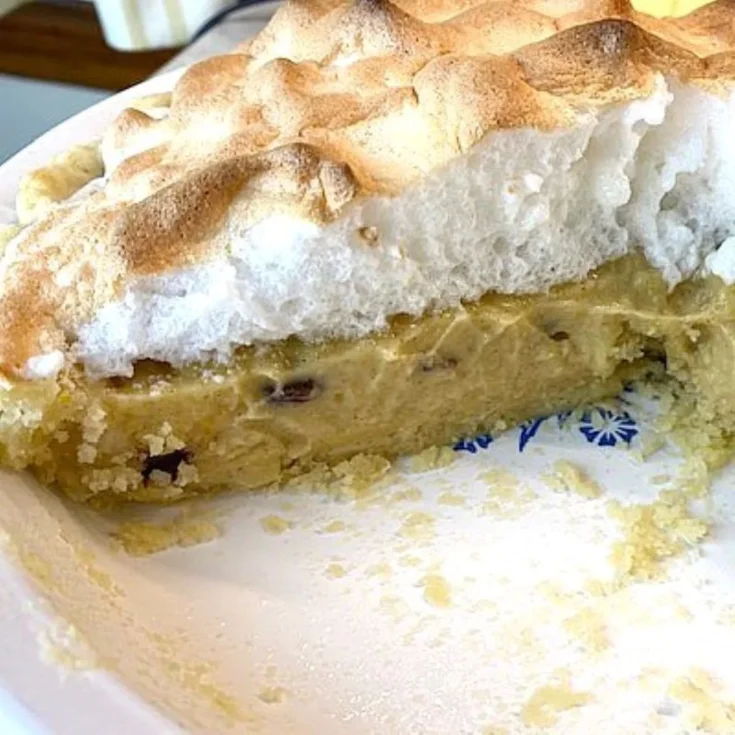
An old-fashioned recipe with indescribable flavor. It appears to have Russian-German roots. This was popular in the Dakotas and Minnesota when fresh fruit wasn't always available. You will discover why it is such a favorite of those who've been lucky enough to have tasted it!
WHEN TOPPING WITH MERINGUE:
Pour boiling water over the raisins and let them plump up while you make the filling. You can do this right in a heat-proof glass measuring cup. Drain them well before adding them to the sour cream mixture.
Combine the dry ingredients in a heavy saucepan and mix them well. Add the sour cream, lemon juice, and egg yolks. Cook over medium heat, constantly stirring until the mixture thickens.
Fold in the well-drained raisins and pour into a baked 9" pie shell.
Top with meringue and bake in a 425-degree oven for about 10 minutes or until golden brown with brown-tipped peaks.
The Meringue recipe follows.I recommend you make it first.
IF YOU DO NOT WANT MERINGUE:
Do everything the same except:
Use an unbaked 9" pie shell.
Don't separate the eggs. Use the whole egg in the filling.
Bake for 10 minutes at 425 degrees, lower the oven temperature to 350 degrees, and bake for about 30 minutes or until the surface is golden brown. Chill and serve with lots of whipped cream!
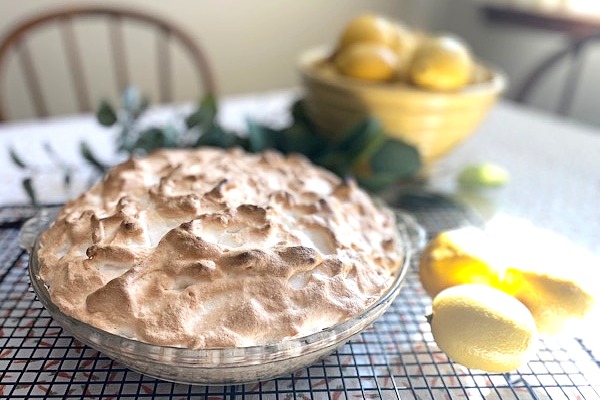
Beautiful meringue topping that doesn't weep or shrink when the instructions are followed!
I am more of a pie girl than a cake girl any day of the week! Gimme some PIE! Here are two more amazing pie recipes I think you will like as much as I do! Lemon Meringue Pie and Coconut Cream Pie!
If you liked this recipe, you are my people! So please share this post on your social media accounts like Facebook, Instagram, Twitter, and Pinterest if you enjoyed this recipe today. It would sure tickle me, and I'd be ever so grateful; thank you!
If you haven't already, please check out my Facebook page and find me on Pinterest, where I'll post easy, delicious, and family-friendly recipes every week!
Sign up for my newsletter and receive a free gift! A printable sign that would look great in your kitchen, framed above your sink, or just placed anywhere to remind us how lucky we are to have dirty dishes!
 Sign up now!
This seems like a very confusing recipe. I've read it through, but will now have to read a few more times.
I'm sorry for the frustration and confusion and for my delayed response. I'll try to help; this is such a good pie you can serve it in two different ways.
Simple and fast: Use an unbaked 9" pie shell. Don't separate the eggs. Use the whole egg in the filling. Bake for 10 minutes at 425 degrees; lower the oven temperature to 350 degrees and bake for about 30 minutes or until the surface is golden brown. Chill and serve with lots of whipped cream!
Three steps if you want to top with meringue: Blind bake the pie crust and set it aside. Separate the eggs and set the whites aside for meringue. Cook the filling and put it into the baked pie shell. Make meringue with the whites using the meringue recipe in the post. Top the pie filling with meringue and bake in a 425-degree oven for about 10 minutes or until golden brown with brown-tipped peaks.
I hope that helps!!