
If you’ve never tasted dandelion jelly before, imagine a little jar of sunshine with hints of honey and wildflowers. It’s one of those old-fashioned kitchen treasures that surprises almost everyone who tries it.
I've always been curious about making dandelion jelly, but this week I decided to embark on the adventure and make it. I have a complicated love/hate relationship with dandelions. This project made me love them.... well, maybe a little bit.
They are edible flowers, and old-timers love the rather bitter greens. I haven't ventured that far into becoming an "earth mother", but this project fascinated me.
If you are a canning "newbie", here are the simplest jam and jelly recipes I have- a great place to start your home canning adventure:
We live on two semi-rural acres. It's an old property, and the soil is not particularly good, so keeping grass growing and weeds out is a battle. I hate how those pesky yellow flowers mess up my dream of a lush, green carpet of grass.
Good news! Those pesky yellow flowers can be used to make beautiful, delicious dandelion jelly. The amber color makes it look like honey, and it has a delicate, honey-like taste with a hint of floral notes. Once you have picked the flowers and pulled the petals, it's easy to make.
The best time to pick the flowers is midday when the blossoms are fully open. Make sure the dandelions have not been sprayed, and avoid picking any along a highway where exhaust fumes could settle.
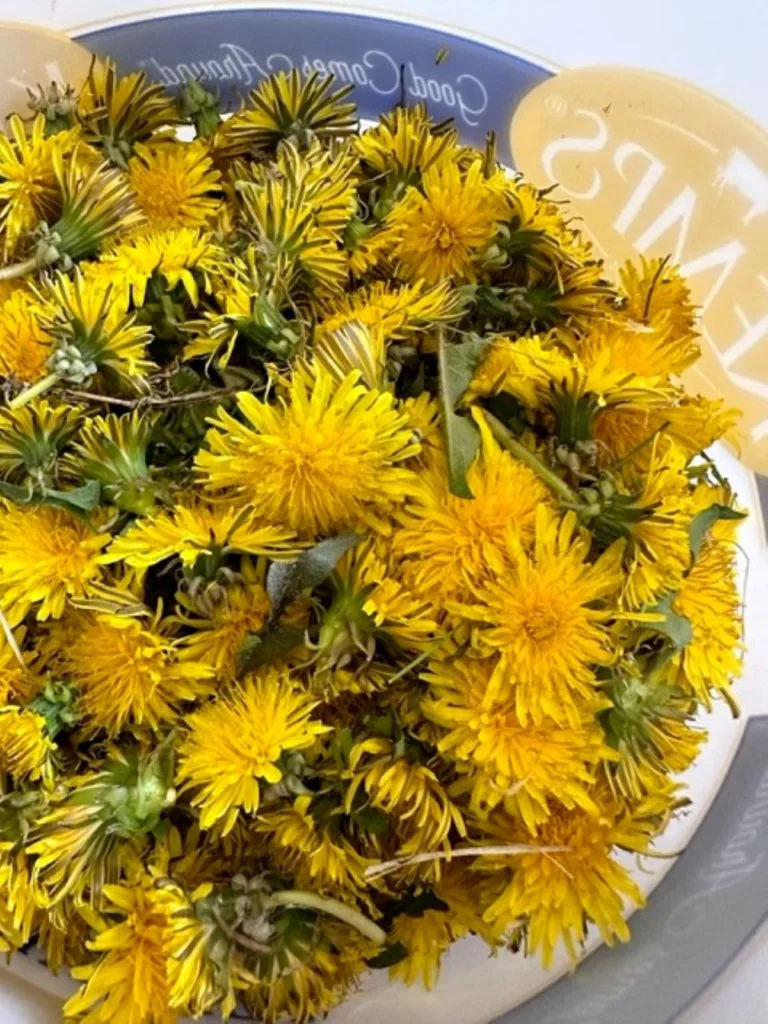
At last, I had filled a five-quart ice cream bucket and headed for the house to extract the two or more cups of petals I would need to make my first batch of dandelion jelly.
There is no fast way to do this, but the quickest way is to grab the green part under the flower between your fingers and sort of roll it while you pull out the feathery petals. Patience helps, as you will need 2 or more cups of petals to make your first batch of dandelion jelly.
Avoid getting too much of the green part, as it's bitter.
Your fingers will look like this (gross!), but it washes off easily. The yellow pigment is amazing.

Finally, you will have the two cups of petals you need to make some "dandelion tea."

Pour four cups of boiling water over the petals and steep them in the refrigerator overnight.
After the petals have steeped, strain the liquid through cheesecloth or a fine mesh strainer to remove any solids. Squeeze the petals as dry as possible, pressing out as much liquid as possible. You should have about three or four cups of the dandelion liquid. Throw the soggy petals away.

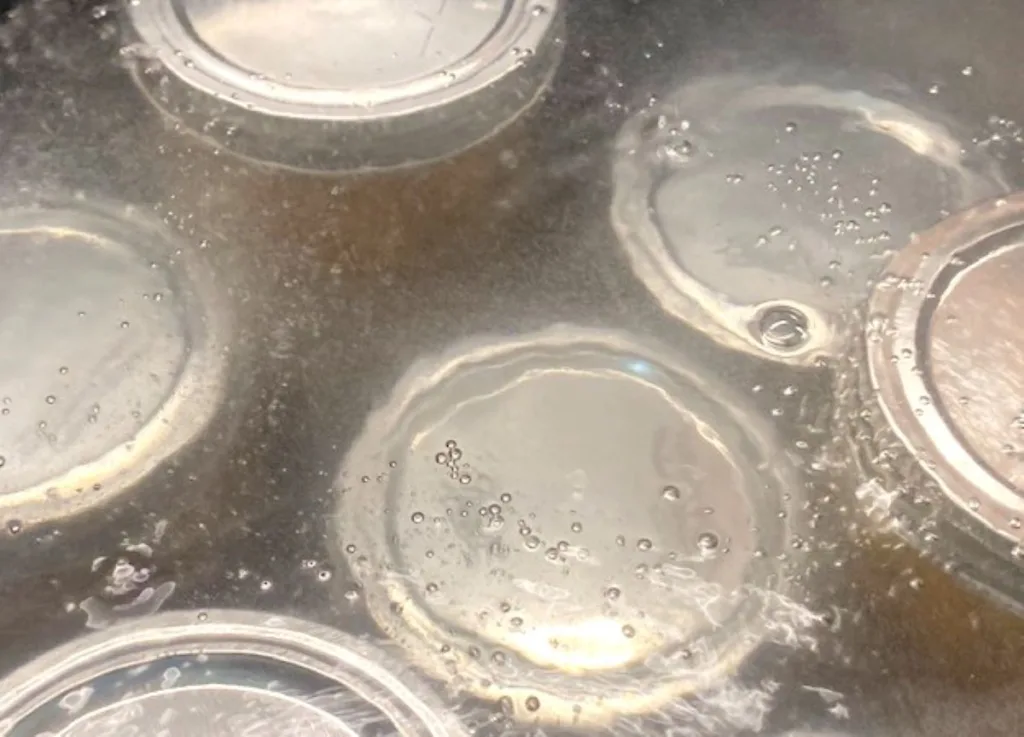
When the time is up, use the canning jar lifter to remove the jars and put them on a rack or thick towel to cool. Allow the jars to sit without moving or touching until they are completely cool. You'll hear the distinctive "ping" sound as the jars seal.
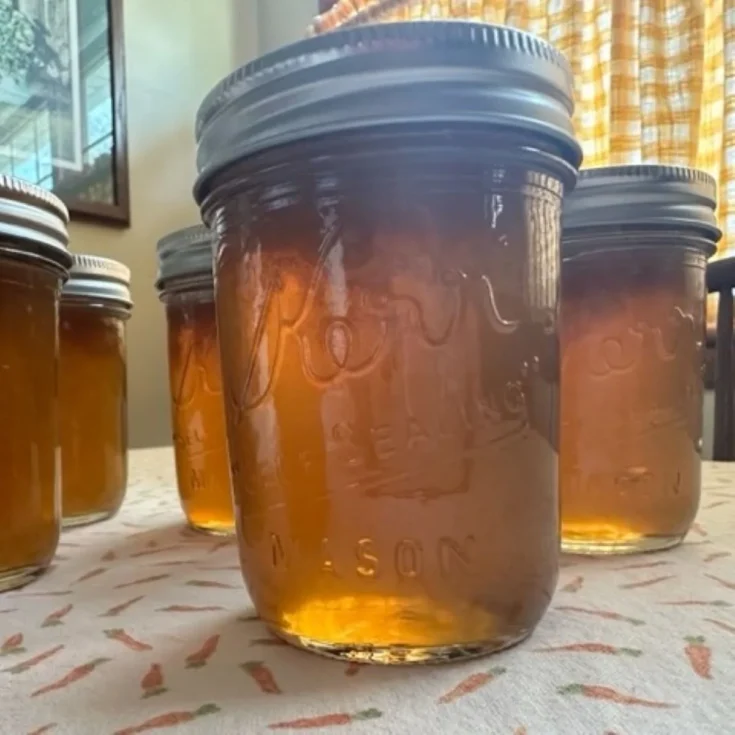
I was delighted with how well this jelly turned out! It is beautiful and tastes amazing. The recipe made six perfectly filled jars. I had to scrape the pot to treat myself to a sample!
I love it, and despite it being a bit more work than some other jellies, I think this new dandelion jelly is really special and will make for very unique gifts!
My daughters and I love making jelly and jam! We call them "jam sessions!" Everyone gets excited when they receive homemade goodies like these!

Homemade jam or jelly makes sweet gifts - people are almost giddy to receive their very own jar. My daughter's friend group always looks forward to their very own"birthday jar."
For the full experience of jam or jelly love, try some of these.
One Easy Yeast Bread Recipe - A very basic, easy white bread yeast dough you can use in many ways.
Raspberry Jam - make it with fresh OR frozen raspberries! So many ways to enjoy it!
Orange Marmalade - Beautiful and sunny, this sweet-and-tangy marmalade includes bits of citrus peel.
Christmas Jam - A wonderful crimson red sweet-tart jam that's made of strawberries and cranberries. Easy enough for beginners!
Jalapeno Jelly - Jalapeño Jelly is beautiful and mysteriously both sweet and hot. Great over cream cheese!
This is a recipe for a beautiful and unique jelly made from dandelion petals that tastes like honey with a touch of floral essence.
Dandelion jelly has a light, delicate flavor that many people compare to honey or wildflowers. It’s sweet, mild, and surprisingly delicious.
Yes! Dandelions are edible flowers that have been used in traditional cooking for generations. Be sure to pick flowers from areas that have not been treated with pesticides or chemicals.
Use only the yellow flower petals. The green parts can make the jelly taste bitter.
Bitterness usually comes from including too much of the green stem or flower base. Taking a little extra time to separate the yellow petals helps create a sweeter flavor.
Yes. Dandelion jelly freezes well in freezer-safe containers. Leave a little room at the top for expansion.
Sometimes jelly needs several hours or overnight to fully set. Accurate measurements and proper boiling time are also important.
Properly sealed jars can last up to a year stored in a cool, dark place. Refrigerate after opening.
Yes. Bottled lemon juice is often recommended for consistency in jelly recipes.
Pick freshly opened flowers on a sunny day when the blossoms are fully open for the best flavor and color.
Try it on toast, biscuits, English muffins, or over cream cheese with crackers. It also makes a charming homemade gift.
As much as I hate how dandelions ruin my dreams of a perfectly manicured lawn, bees do love them, and I do love bees. 🐝 I always admire the fascinating yellow flowers when I examine them closely, and I applaud their tenacity and ability to grow despite harsh conditions. If you're on the fence, you might find this article interesting. Dandelions are rich in symbolism.
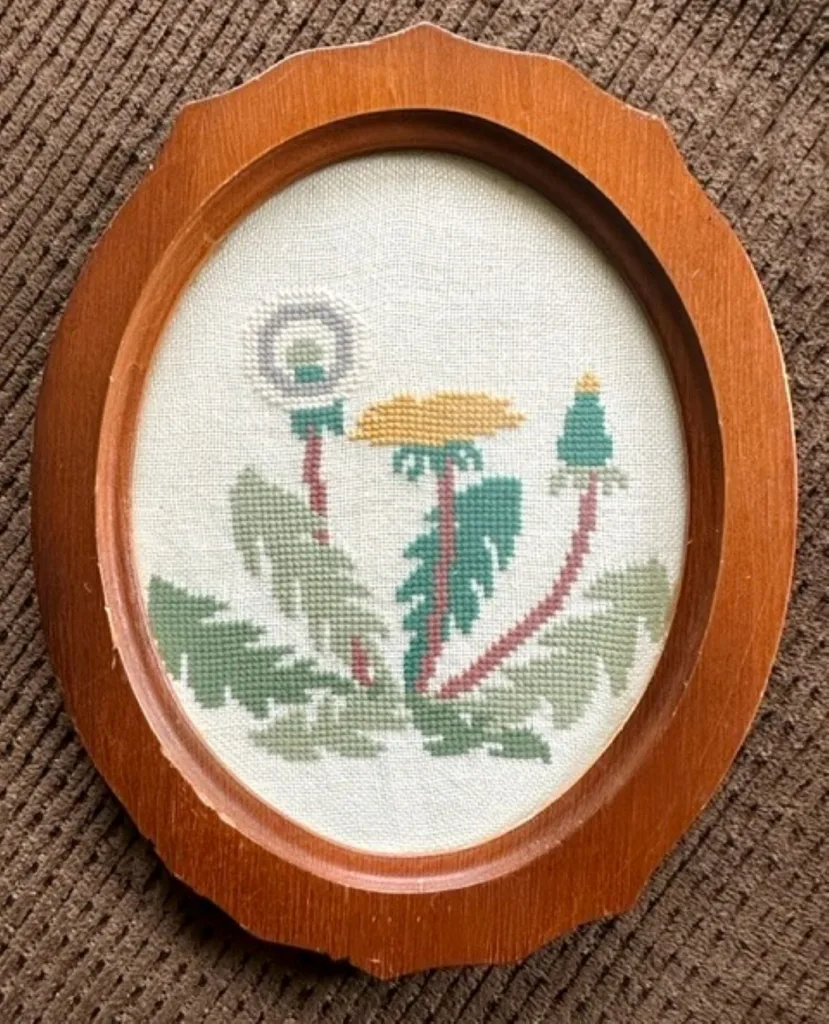
One of my little treasures is this embroidered dandelion cross-stitch. My aunt in Denmark hand-stitched it, and it's probably eighty or more years old. It was once a pillow, but when it was too worn to use, I rescued the center and had it framed almost fifty years ago as a reminder of just how artful they are. It always makes me smile.
Remember, when you change the way you look at things, the things you look at change. 😉
If you enjoyed a post, I'd love it if you would leave a ⭐⭐⭐⭐⭐ review or a comment. It really helps others find my recipes- because you are exactly the kind of cooks I write for!
Love, GB (Betty Streff)
Sign up for my newsletter and receive a free gift! A printable sign that would look great in your kitchen, framed above your sink, or just placed anywhere to remind us how lucky we are to have dirty dishes!
 Sign up now!